
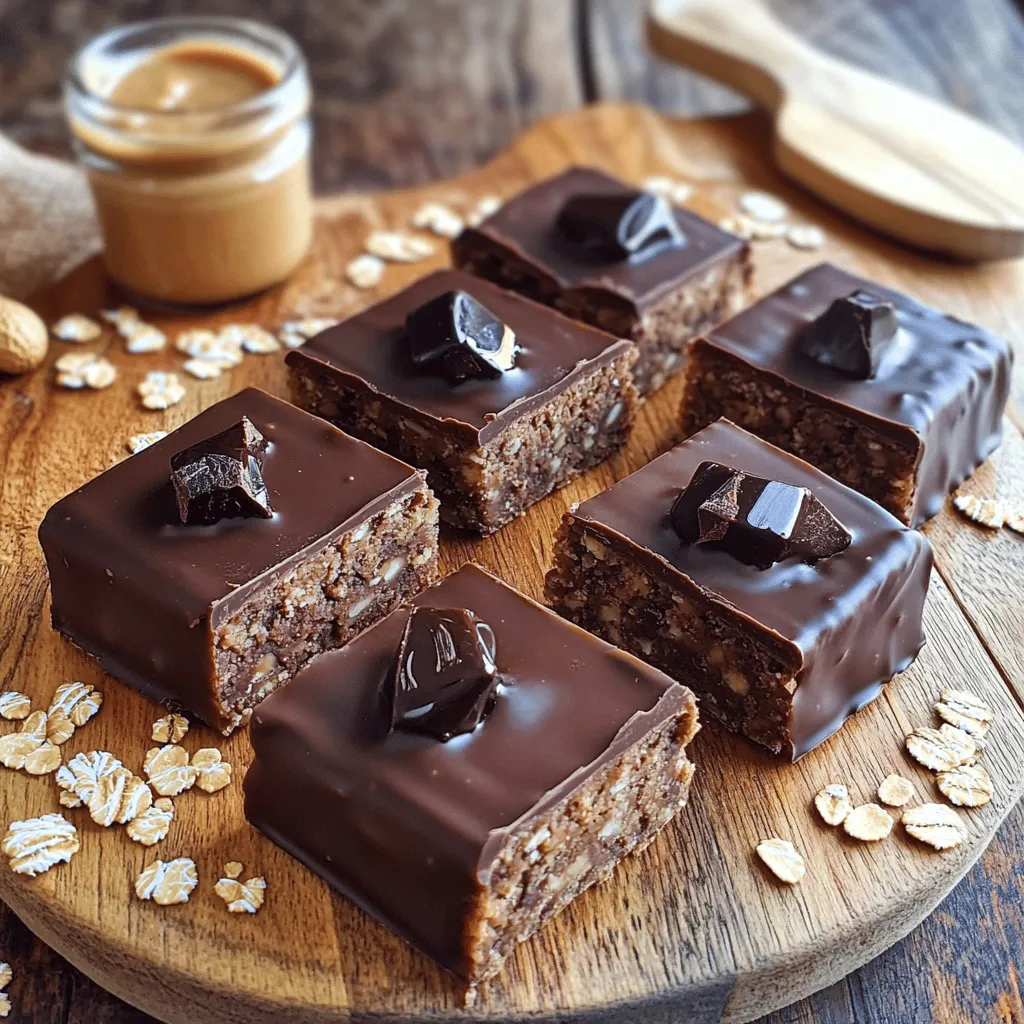
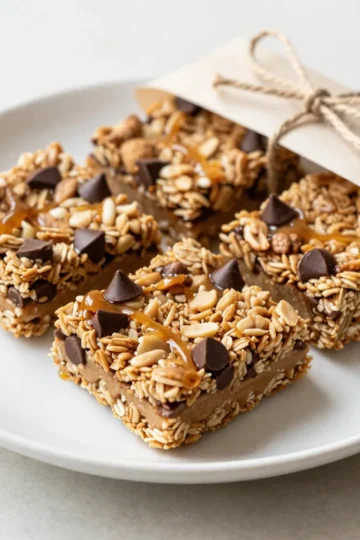
Are you looking for a tasty and simple snack that packs a protein punch? If so, you’ll love my recipe for Chocolate Peanut Butter Protein Bars! These bars blend rich chocolate flavor with creamy peanut butter, making them a perfect treat for any time of day. In this post, I’ll guide you through the easy steps to create your own delicious protein bars at home. Let’s dive into the sweet world of healthy snacking!
Ingredients
Key Ingredients for Chocolate Peanut Butter Protein Bars
- 1 cup rolled oats
- ½ cup peanut butter (smooth or crunchy)
- ¼ cup honey or maple syrup
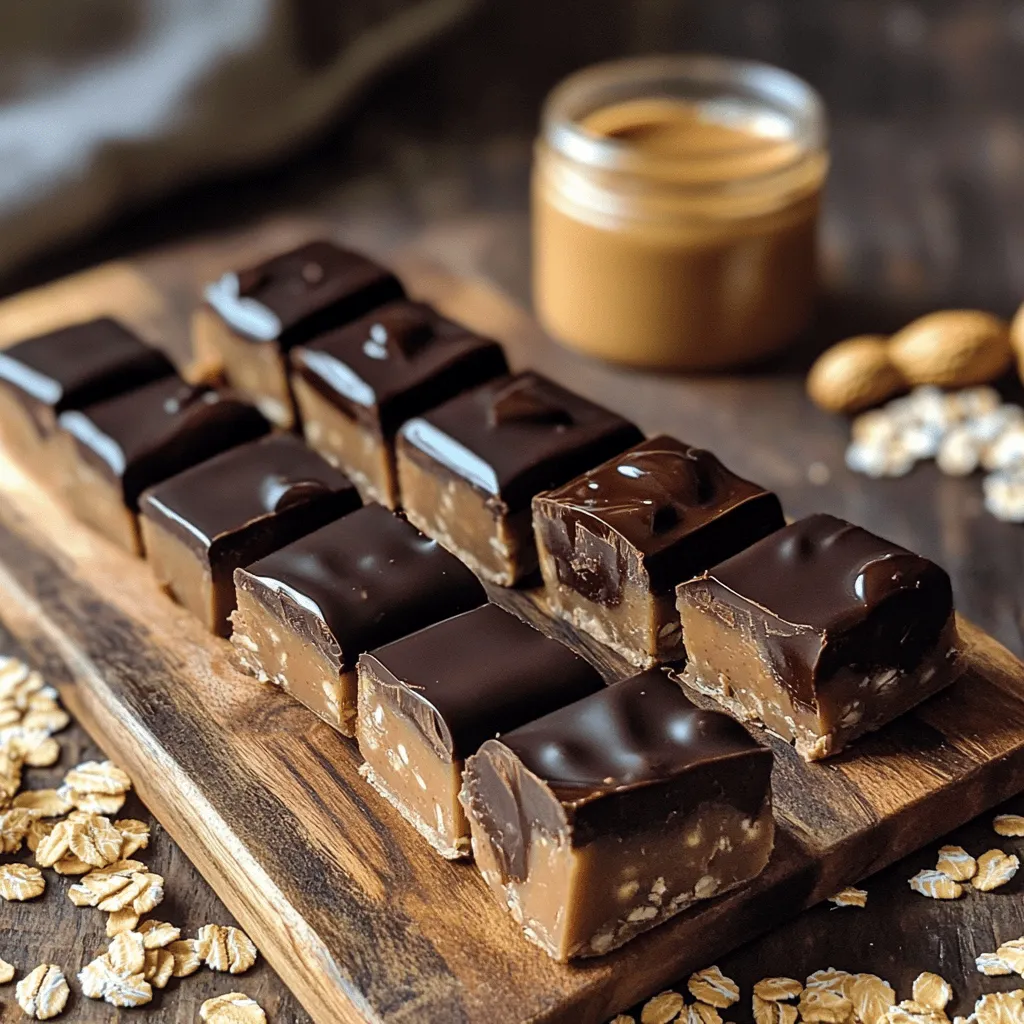
Rolled oats form the base of these bars. They add fiber and help bind the mixture. You can choose peanut butter based on your taste. Smooth gives a creamy texture, while crunchy adds a fun bite. Sweeteners like honey or maple syrup offer natural sweetness. Honey is thicker, while maple syrup is runnier, so pick what you like.
Additional Ingredients
- ½ cup chocolate protein powder
- ¼ cup unsweetened cocoa powder
- ¼ cup dark chocolate chips (optional)
Chocolate protein powder boosts the protein content. It also adds a rich chocolate flavor. Cocoa powder enhances the chocolate taste without extra sugar. If you’re a chocolate lover, add dark chocolate chips for an extra treat. They melt slightly when mixed in, creating a delicious surprise.
Nutritional Information
- Protein Content Per Bar: About 7 grams
- Caloric Breakdown: Roughly 150 calories per bar
- Other Nutrients: Contains healthy fats and carbohydrates
Each bar has around 7 grams of protein. This helps keep you full and energized. With about 150 calories, they fit well into a balanced diet. The bars also include healthy fats from peanut butter and oats, offering a nutritious snack.
Step-by-Step Instructions
Preparation of Dry Ingredients
Start with a large mixing bowl. Add the rolled oats, chocolate protein powder, cocoa powder, and a pinch of salt. Use a whisk or spoon to mix these dry ingredients thoroughly. This step is key for even flavor and texture. Make sure there are no clumps. A good mix helps all flavors blend well.
Combining Wet Ingredients
In another bowl, combine your peanut butter, honey or maple syrup, almond milk, and vanilla extract. Mix these until they are completely smooth. This mixture should be creamy and uniform. A smooth mix ensures the bars hold together well. If you want a richer taste, you can add dark chocolate chips at this point. Gently fold them in to distribute evenly.
Forming the Protein Bars
Now, prepare a 9×9 inch baking dish. Line it with parchment paper, leaving some paper hanging over the edges. This will help you lift out the bars later. Carefully pour the wet mix into the dry mix. Stir well with a spatula until everything is combined. The mixture should be thick and sticky.
Transfer the mixture to your lined baking dish. Use the spatula to spread it evenly. Press down firmly to create a smooth surface. This step is important for the bars to be compact and not crumble. Refrigerate for at least 30 minutes to set. Once firm, lift the bars out using the parchment paper and cut them into squares. Enjoy your homemade protein bars!
Tips & Tricks
Customizing Flavor
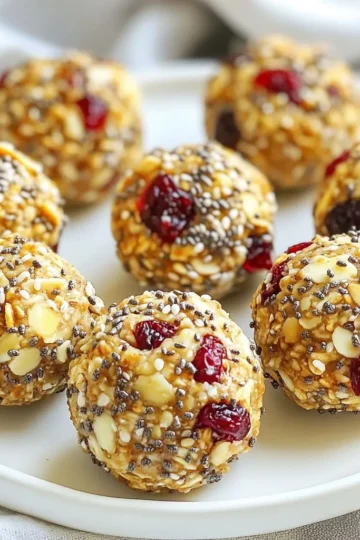
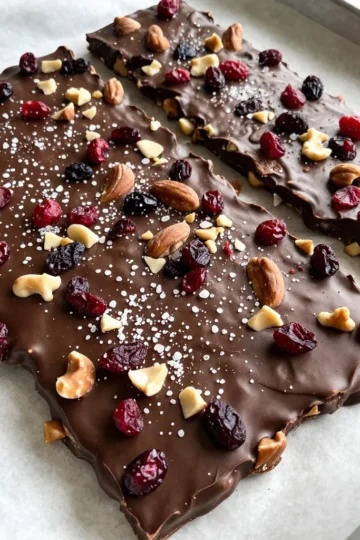
To make these bars your own, you can adjust the sweetness. If you want them sweeter, add more honey or maple syrup. If you prefer less sweetness, cut back on the sweetener. You can also add extra ingredients for texture. Try adding chopped nuts, seeds, or dried fruit. These will give your bars a fun crunch and add more flavor.
Perfecting Consistency
Getting the right consistency is key to great protein bars. Make sure to mix the dry ingredients well. This helps distribute the cocoa powder and protein powder evenly. When mixing the wet ingredients, stir until smooth. A smooth mixture blends better with the dry ingredients, giving you a nice, thick consistency. If it feels too dry, add a splash more milk.
Serving Suggestions
When serving, presentation matters. Arrange the bars on a wooden board or colorful plate. You can drizzle melted dark chocolate on top for a fancy touch. For a snack or meal, these bars pair well with fruit or a protein shake. They make a great on-the-go snack or a post-workout boost. Enjoy them whenever you need a tasty, nutritious pick-me-up!
Variations
Different Flavor Profiles
You can change the nut butter in this recipe. Almond butter is a great choice. It adds a unique taste and pairs well with chocolate. Sunflower seed butter is another option for those with nut allergies. Both alternatives keep the bars creamy and rich.
You can also add fun flavors. Try mixing in shredded coconut for a tropical twist. Chopped nuts, like walnuts or pecans, add crunch. These additions make each bite exciting and tasty.
Dietary Modifications
For a vegan option, replace honey with maple syrup. This keeps the bars sweet and plant-based. Ensure your protein powder is dairy-free for a complete vegan treat.
If you need gluten-free bars, use certified gluten-free oats. This simple swap allows everyone to enjoy these bars without worry.
Texture Variations
You can choose how chewy or crunchy you want your bars. For a chewier texture, press the mixture less firmly in the baking dish. If you prefer a crunch, add seeds like chia or flax. They give additional texture and boost nutrition.
Experiment with the balance of ingredients. You can adjust the oats and protein powder to find your perfect texture. This way, you create a snack that suits your taste perfectly.
Storage Info
Best Storage Practices
To keep your chocolate peanut butter protein bars fresh, store them in an airtight container. This helps prevent moisture from making them soggy. I recommend a glass or plastic container with a tight lid. Placing parchment paper between layers can also help keep the bars from sticking together.
Store the bars in a cool, dry place, like your kitchen counter. If you live in a hot climate, the fridge is a better option. It keeps them firm and tasty.
Shelf Life
These protein bars last about a week in the refrigerator. The cold keeps them fresh and safe to eat. If you want to keep them longer, freeze them. They can last up to three months in the freezer. Just wrap each bar in plastic wrap before placing them in a freezer bag. This way, they stay fresh and easy to grab later.
Reviving Hard Bars
If your protein bars become too hard after storage, you can soften them. Place the bars in a microwave-safe dish. Heat them for about 10 seconds. Check and repeat if needed, but don’t overheat. You want them soft but not melted. You can also let them sit at room temperature for a few minutes. This helps them regain some moisture and makes them easier to bite into.
FAQs
How to Make Chocolate Peanut Butter Protein Bars?
To make these bars, follow these steps:
1. Mix rolled oats, chocolate protein powder, cocoa powder, and salt in a bowl.
2. In another bowl, blend peanut butter, honey, almond milk, and vanilla until smooth.
3. Combine the wet and dry mixtures until thick and sticky.
4. Fold in dark chocolate chips if you want extra chocolate taste.
5. Press this mixture into a lined baking dish.
6. Refrigerate for at least 30 minutes to set.
7. Cut into bars and enjoy!
Are Homemade Protein Bars Healthier?
Yes, homemade protein bars are often healthier than store-bought ones. Here’s why:
- Control Over Ingredients: You know exactly what goes in your bars.
- Less Sugar: You can adjust sweetness to your liking.
- No Preservatives: Homemade bars avoid many chemicals found in store options.
- Custom Nutrition: You can add superfoods or adjust protein levels as needed.
Can I Substitute Ingredients?
Yes, you can substitute some ingredients. Here are some ideas:
- Peanut Butter: Use almond butter or sunflower seed butter for different flavors.
- Sweeteners: Maple syrup can replace honey for a vegan option.
- Milk: Any milk (dairy or plant-based) works well.
- Protein Powder: You can swap chocolate protein for vanilla protein for a new taste.
Each change will slightly alter the flavor and texture, but they can still be delicious.
In this post, I covered how to make chocolate peanut butter protein bars. We explored key ingredients, like oats and peanut butter, and looked at nutritional facts. I shared step-by-step instructions and helpful tips for customizing your bars. You can adapt flavors and textures to fit your taste. Proper storage ensures they stay fresh.
Homemade bars are often healthier than store-bought ones. You now have the knowledge to create tasty, nutritious treats. Happy snacking!

Leave a Reply