By Category

Top 10 Recipes
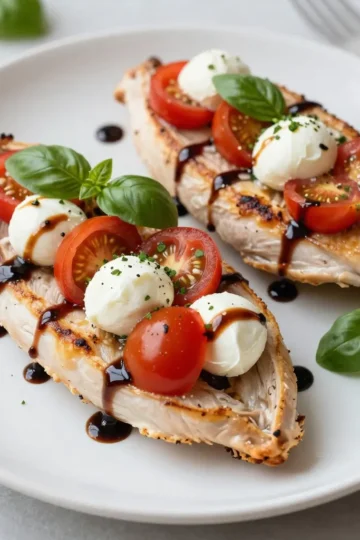
- Caprese Stuffed Chicken Breast Flavorful Dinner Delight
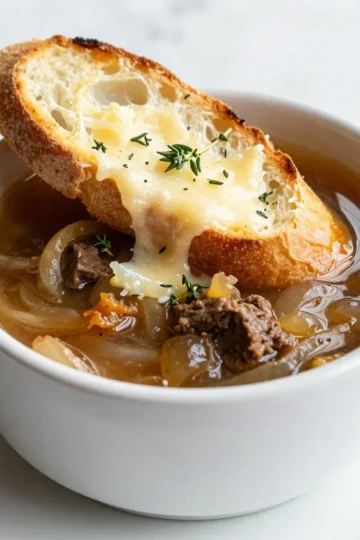
- Classic French Onion Soup Comforting and Flavorful Dish
- Quinoa Stuffed Peppers Tasty and Nutritious Meal
- Mango Pineapple Smoothie Refreshing and Nutritious Drink
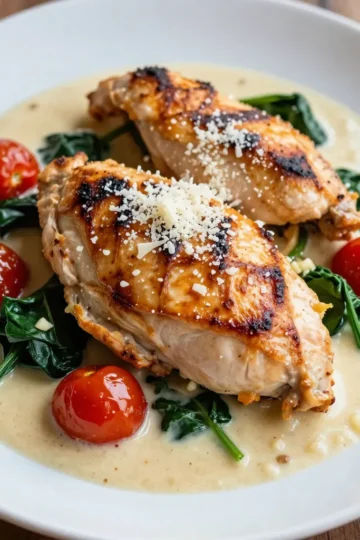
- Creamy Garlic Tuscan Chicken Easy and Flavorful Dish
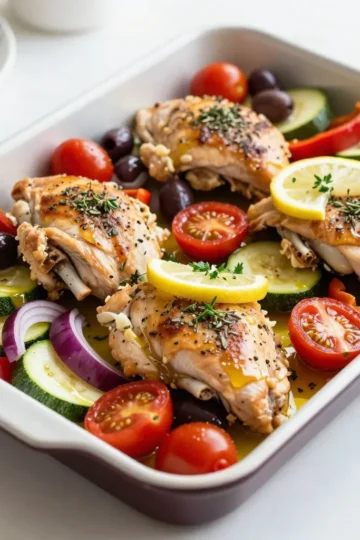
- Greek Chicken Sheet Pan Dinner Flavorful and Easy Recipe
- Honey Garlic Roasted Carrots Tasty and Simple Dish
- Greek Chicken Gyro Bowls Simple and Flavorful Recipe
- Greek Lemon Chicken Kebabs for Flavorful Grilling
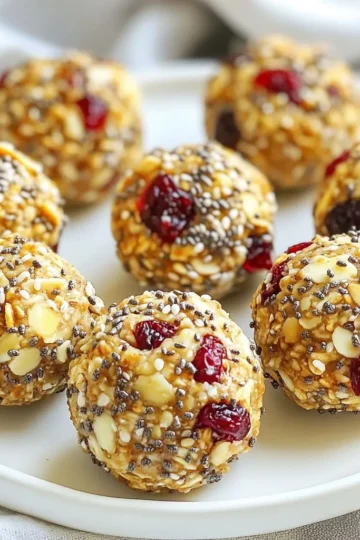
- Almond Cranberry Energy Bites Healthy Snack Recipe


Latest Recipes
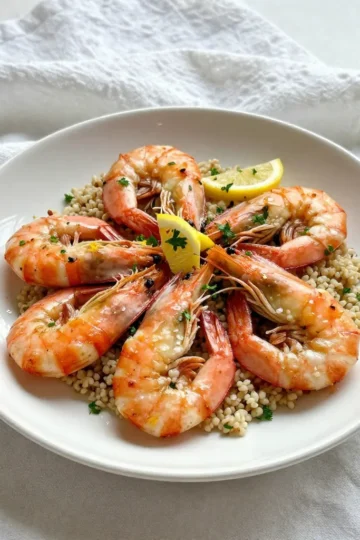
- Lemon Garlic Roasted Shrimp Flavorful and Simple Recipe
- Dark Chocolate Sea Salt Bark Simple and Delicious Treat
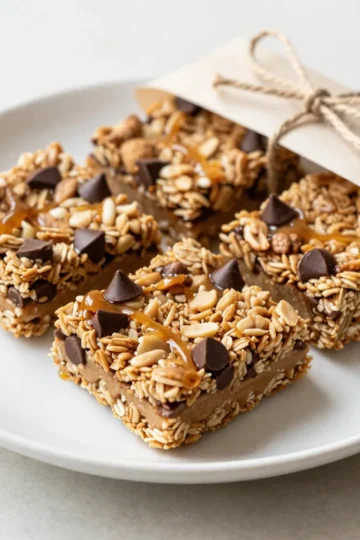
- Peanut Butter Chocolate Chip Granola Bars Delightful Treat
- Garlic Herb Focaccia Bread Fluffy and Flavorful Delight
- Chocolate Coconut Snowball Truffles Sweet and Easy Treat
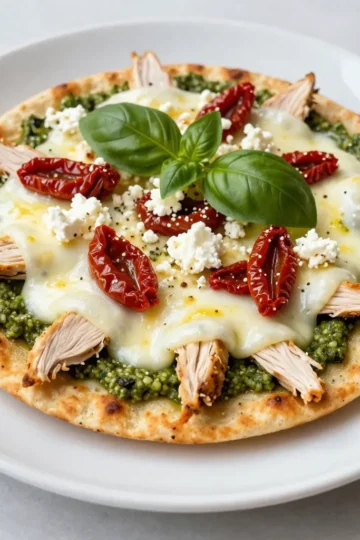
- Pesto Chicken Flatbread Flavorful and Easy Recipe
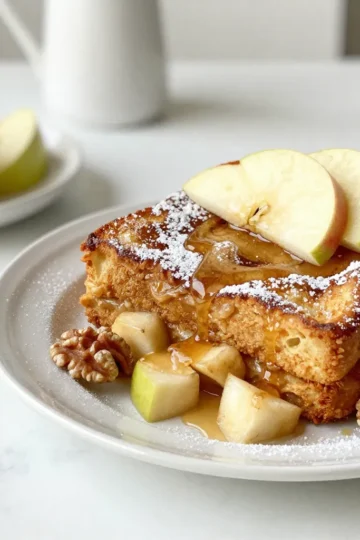
- Apple Cinnamon French Toast Bake Delicious Breakfast Treat
- Chocolate Oreo Lasagna Decadent and Easy Delight
- Chocolate Orange Truffles Delightful and Easy Treat