
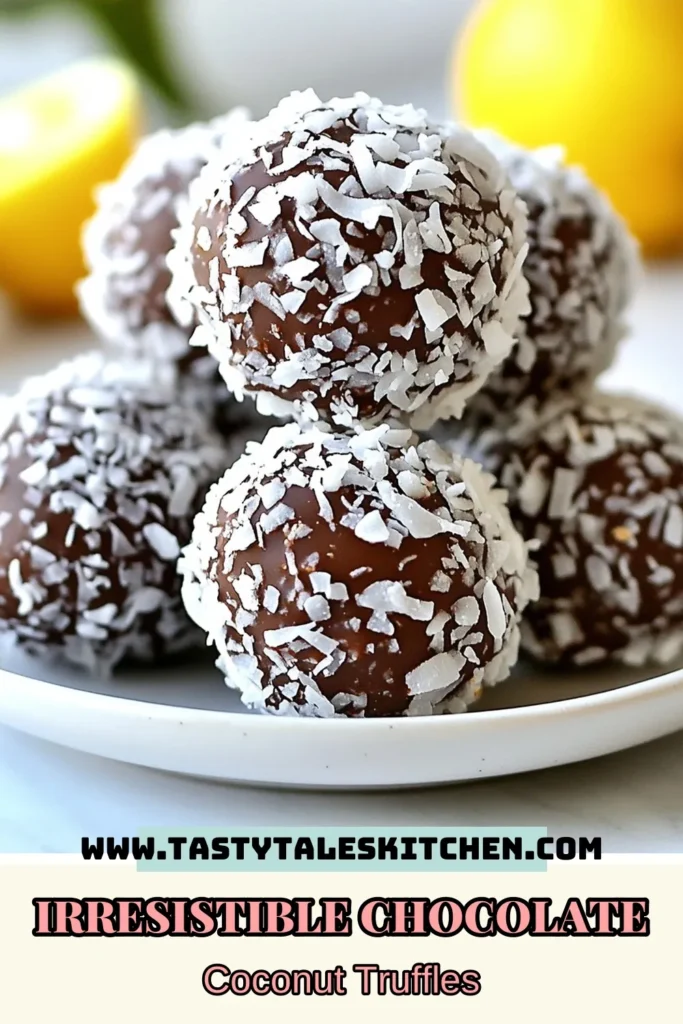
Get ready to indulge in a sweet treat that’s simple to make! Chocolate Coconut Snowball Truffles are rich, creamy, and coated in coconut. Whether you're a beginner or a pro in the kitchen, you’ll find this recipe easy and fun to follow. I’ll guide you through each step, from mixing the dough to creating your truffles. Let’s dive in and make your taste buds dance with joy!
Why I Love This Recipe
- Decadent Flavor: These truffles are a delightful combination of rich chocolate and tropical coconut, making each bite a delicious treat.
- Easy to Make: With simple ingredients and straightforward steps, these truffles can be whipped up quickly for any occasion.
- Healthy Indulgence: Made with wholesome ingredients like almond flour and natural sweeteners, these truffles are a guilt-free dessert option.
- Perfect for Sharing: These bite-sized delights are ideal for parties or gatherings, making them a hit among family and friends.
Ingredients
Main Ingredients List
To make Chocolate Coconut Snowball Truffles, you need:
- 1 cup desiccated coconut (plus extra for coating)
- ½ cup almond flour
- ½ cup unsweetened cocoa powder
- ¼ cup maple syrup
- 2 tablespoons coconut oil, melted
- 1 teaspoon vanilla extract
- A pinch of salt
- ½ cup dark chocolate chips (ensure dairy-free if necessary)
These ingredients blend well to create a rich and tasty treat.
Optional Ingredients for Variations
You can play with the recipe by adding some optional ingredients:
- A dash of cinnamon for warmth
- Chopped nuts for crunch
- Dried fruit for sweetness
- A splash of coffee for depth
These small changes can really boost the flavor.
Recommended Substitutions
If you need to swap ingredients, here are some ideas:
- Use shredded coconut instead of desiccated coconut for a different texture.
- Swap almond flour with oat flour or regular flour if needed.
- Replace maple syrup with honey or agave syrup for sweetness.
- Use coconut butter instead of coconut oil for a creamier taste.
These substitutions help you make the truffles work for your needs.

Step-by-Step Instructions
Mixing the Dough
First, gather your ingredients. In a large bowl, combine the desiccated coconut, almond flour, cocoa powder, maple syrup, melted coconut oil, vanilla extract, and a pinch of salt. Use a spatula or your hands to mix everything together. You want the dough to be sticky and well combined. This step is key for great flavor and texture.
Shaping the Truffles
Now it's time to shape the truffles. Take small portions of the dough and roll them into balls. Aim for about 1 inch in diameter. Place each ball on a baking sheet lined with parchment paper. Make sure to leave space between them. This helps them keep their shape as they chill.
Melting the Chocolate
While the truffles chill in the freezer, let’s melt the dark chocolate chips. Use a microwave-safe bowl for this. Heat the chocolate in 30-second intervals. Stir well after each interval until it’s fully melted and smooth. Be patient! This step is important for a nice, glossy finish on your truffles.
Tips & Tricks
How to Achieve the Perfect Texture
To get the right texture, make sure to mix your ingredients well. Use your hands or a spatula to combine the coconut, almond flour, cocoa powder, maple syrup, melted coconut oil, vanilla, and salt. You want a sticky dough that holds together. If it feels too dry, add a tiny bit more syrup or coconut oil. If it's too wet, a bit more almond flour will help.
Best Practices for Melting Chocolate
When melting chocolate, use a microwave-safe bowl. Heat the chocolate in 30-second bursts. Stir it well after each round. This method helps prevent burning. If you don't have a microwave, you can melt chocolate on the stove using a double boiler. Just be careful not to let water touch the chocolate.
Serving Suggestions for Presentation
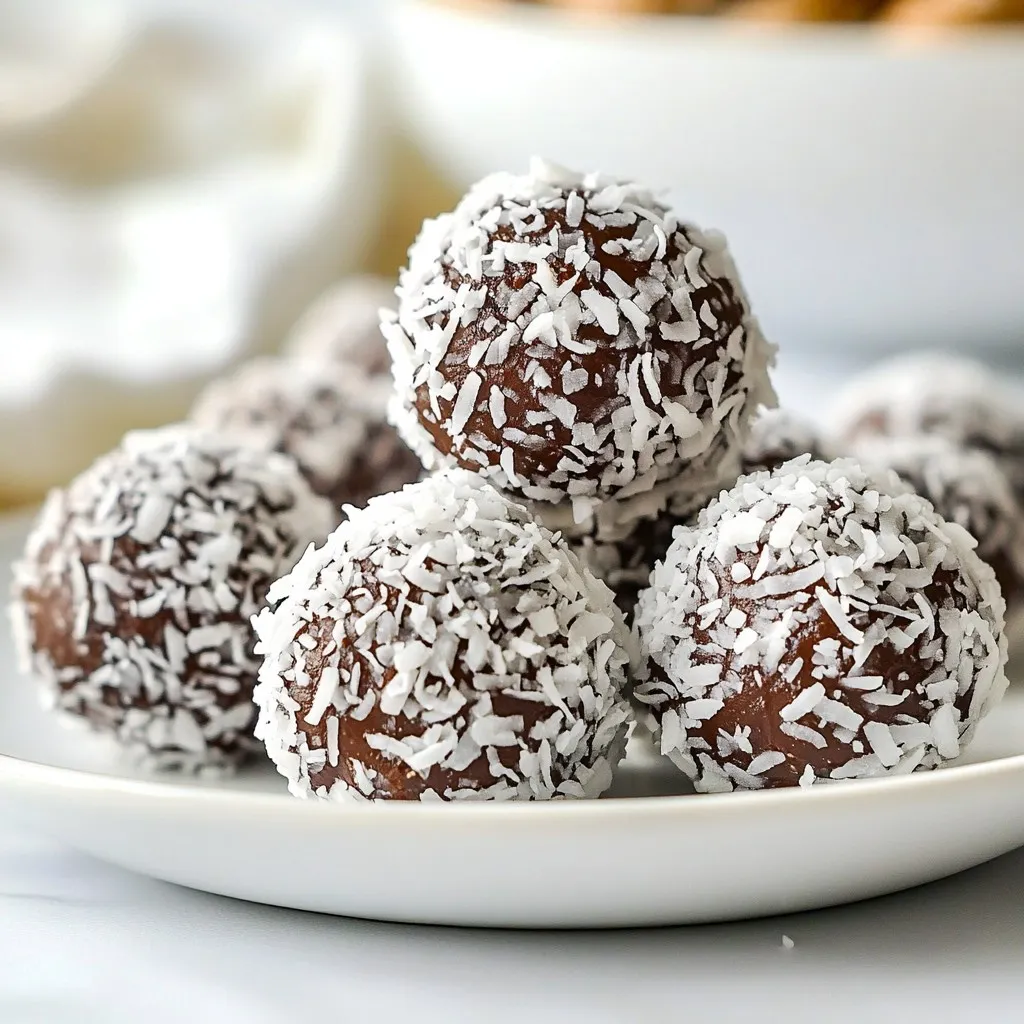
For a beautiful presentation, serve your truffles in small cups or on a pretty platter. You can sprinkle additional coconut flakes around them for a decorative touch. Use colorful plates to make the truffles pop. They look great at parties or as gifts. Don’t forget, the first bite is always the best!
Pro Tips
- Use Fresh Coconut: If possible, use fresh coconut instead of desiccated for a more intense flavor and better texture.
- Chill the Chocolate: Ensure the melted chocolate is not too hot, as it can cause the truffle balls to melt when dipped.
- Customize Flavors: Experiment with different extracts like almond or orange to create unique flavor profiles for your truffles.
- Store Properly: Keep the truffles in an airtight container in the refrigerator to maintain their freshness and texture.
Variations
Different Flavor Additions
You can easily change the taste of your Chocolate Coconut Snowball Truffles. Try adding a few drops of peppermint extract for a minty twist. You can also mix in citrus zest, like orange or lemon, for a refreshing flavor. Want a nutty touch? Add chopped nuts or nut butter into the dough. Each addition can give you a new flavor experience.
Vegan or Dairy-Free Adaptations
Making these truffles vegan or dairy-free is simple. First, use dairy-free dark chocolate chips. They taste just as rich and chocolatey. Replace maple syrup with agave syrup to keep it vegan. You can also use coconut cream instead of regular cream if you want a different texture. This way, everyone can enjoy these tasty treats.
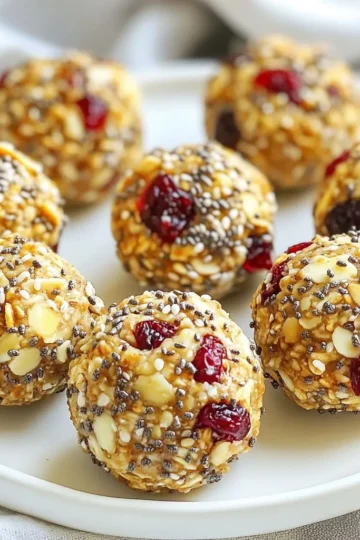
Using Different Coatings
The fun doesn't stop with just coconut coating. You can roll your truffles in crushed nuts, like almonds or hazelnuts, for added crunch. If you want something sweeter, try using sprinkles or ground graham crackers. For a more indulgent experience, you can dip them in white chocolate before coating them. Each coating changes the look and taste of your truffles, making them unique every time.
Storage Info
How to Store Chocolate Coconut Snowball Truffles
To keep your Chocolate Coconut Snowball Truffles fresh, place them in an airtight container. You can layer them with parchment paper to avoid sticking. Store the container in the fridge for the best taste and texture. If you want to share these treats, a sealed box works well for gifting.
Freezing Instructions
You can freeze the truffles if you want to save some for later. First, place the truffles on a baking sheet in a single layer. Freeze them for about an hour until firm. Once frozen, transfer them to an airtight container or freezer bag. They can last up to three months in the freezer. When ready to enjoy, thaw them in the fridge overnight.
Shelf Life
Chocolate Coconut Snowball Truffles can last up to one week in the fridge. If you store them correctly, they will taste fresh and delicious. However, for the best flavor, try to eat them within the first few days. Enjoying them soon after making them is always the best option!
FAQs
Can I make these truffles ahead of time?
Yes, you can make these truffles ahead of time. They store well in the fridge for up to one week. Just keep them in an airtight container. If you want them to last longer, you can freeze them. This way, you can enjoy them anytime. Just thaw in the fridge before serving.
What is the best way to melt chocolate?
The best way to melt chocolate is by using a microwave. Place the dark chocolate chips in a microwave-safe bowl. Heat them in 30-second bursts. Stir well between each burst. This helps to avoid burning the chocolate. You can also melt chocolate on the stove with a double boiler. Just be sure to keep the heat low and stir often.
How can I make these truffles healthier?
To make these truffles healthier, consider these swaps:
- Use unsweetened cocoa powder instead of sweetened ones.
- You can replace maple syrup with a lower-calorie sweetener like stevia.
- Try using coconut flour instead of almond flour for fewer carbs.
- Add nuts or seeds for extra crunch and nutrition.
These changes can help cut calories while keeping the flavor.
In this guide, we explored the ingredients and steps to make chocolate coconut snowball truffles. We discussed mixing and shaping the dough, along with melting chocolate perfectly. You learned useful tips for texture and presentation. We also shared variations for flavor and storage tips to keep your treats fresh.
These truffles are fun to make and share with friends. Enjoy trying different flavors and coatings to find your favorit

Chocolate Coconut Snowball Truffles
Ingredients
- 1 cup desiccated coconut (plus extra for coating)
- ½ cup almond flour
- ½ cup unsweetened cocoa powder
- ¼ cup maple syrup
- 2 tablespoons coconut oil, melted
- 1 teaspoon vanilla extract
- a pinch salt
- ½ cup dark chocolate chips (ensure dairy-free if necessary)
Instructions
- In a large mixing bowl, combine the desiccated coconut, almond flour, unsweetened cocoa powder, maple syrup, melted coconut oil, vanilla extract, and a pinch of salt. Mix thoroughly with a spatula or your hands until the mixture becomes a sticky and cohesive dough.
- Once mixed, take small portions of the dough and roll them into balls approximately 1 inch in diameter. Place each truffle on a baking sheet lined with parchment paper, ensuring they have space between them.
- After shaping all the dough into truffle balls, transfer the baking sheet to the freezer. Chill for about 15-20 minutes, or until the truffles are firm to the touch.
- While the truffles firm up, melt the dark chocolate chips in a microwave-safe bowl. Heat them in 30-second intervals, stirring well after each interval until the chocolate is fully melted and smooth.
- Retrieve the truffles from the freezer. Dip each one into the melted chocolate, using a fork to gently lift them out. Allow any excess chocolate to drip off before moving to the next step.
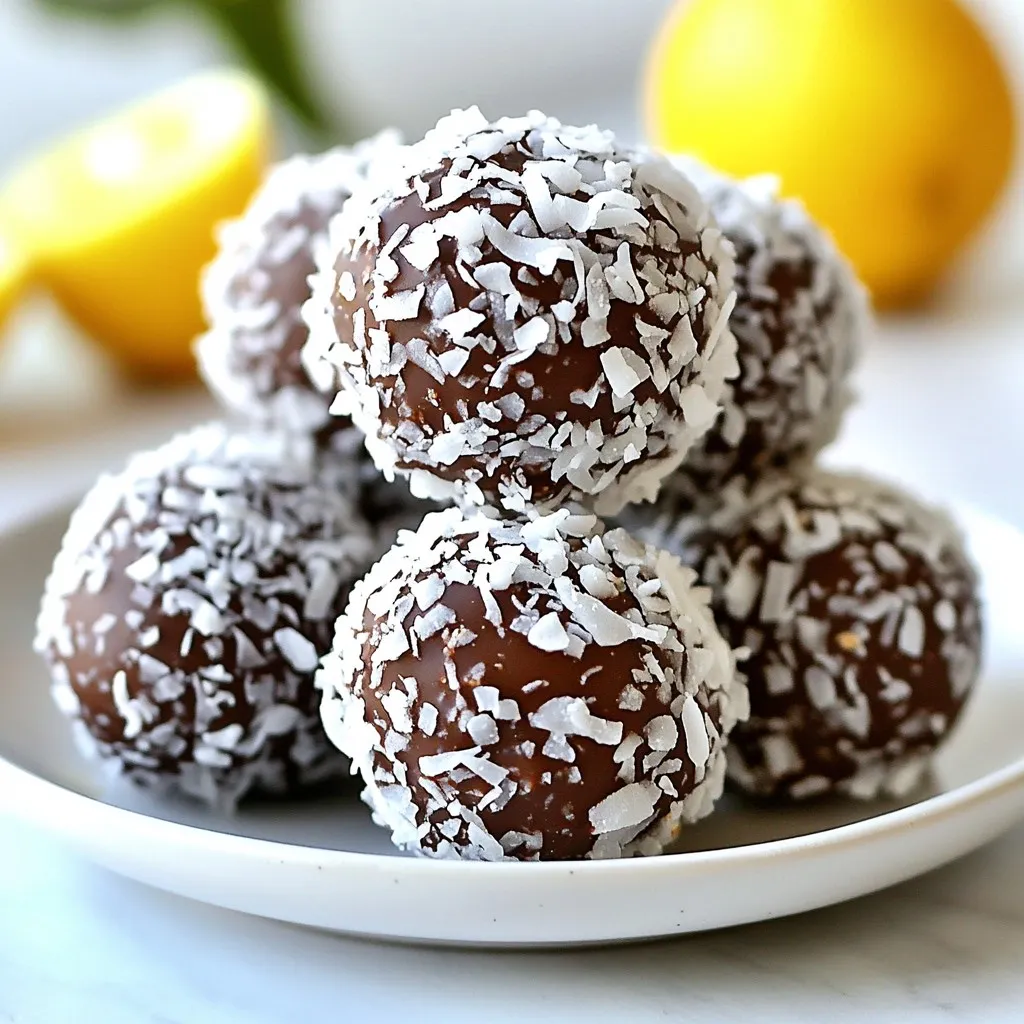
- Immediately roll the chocolate-coated truffles in the extra desiccated coconut, ensuring they are completely covered. Return the finished truffles to the parchment-lined baking sheet.
- Once all truffles are coated and back on the baking sheet, place them into the refrigerator for another 10-15 minutes to allow the chocolate to set.
- After the chocolate has hardened, your delectable Chocolate Coconut Snowball Truffles are ready to be enjoyed!
Leave a Reply