
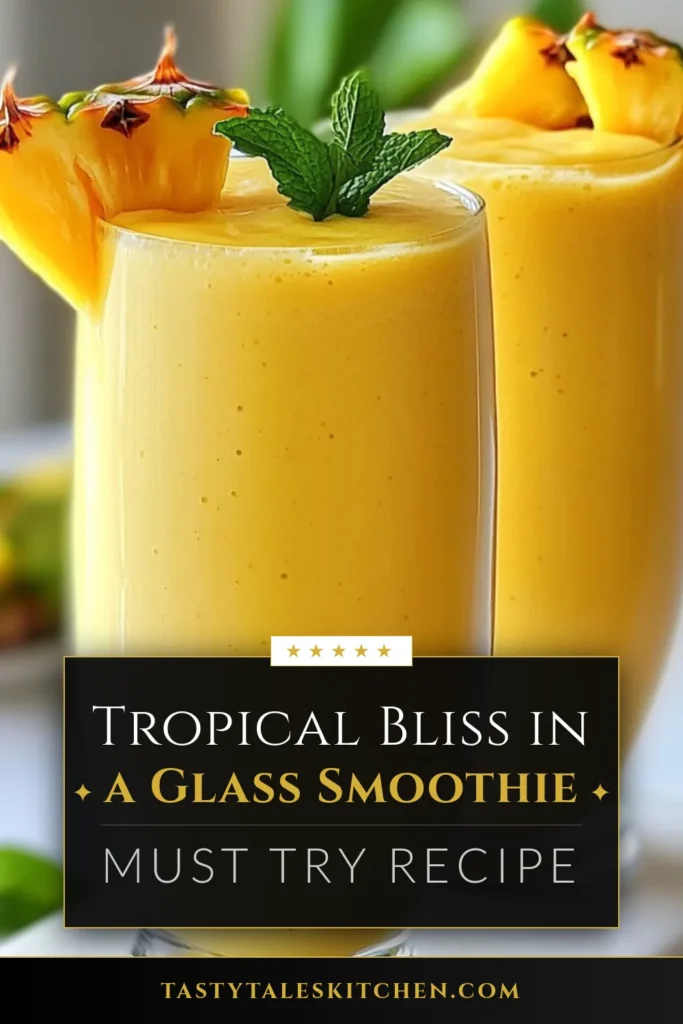
Are you ready to blend up a delicious Mango Pineapple Smoothie? This refreshing drink is not only tasty but also packed with nutrients. With just a few simple ingredients like ripe mango, fresh pineapple, and creamy coconut milk, you can whip up a smoothie that delights your taste buds. Join me as we explore the ingredients and step-by-step guide to making this tasty treat perfect for any day!

Why I Love This Recipe
- Delicious Tropical Flavors: This smoothie bursts with the refreshing taste of mango and pineapple, making it a perfect drink for warm days.
- Nutritious Ingredients: Packed with vitamins and minerals, this smoothie is a great way to start your day or boost your afternoon energy.
- Quick and Easy: With just a few ingredients and minimal prep time, you can whip up this smoothie in no time.
- Customizable: Feel free to adjust the sweetness or add your favorite fruits and toppings to make it your own!
Ingredients
Main Ingredients List
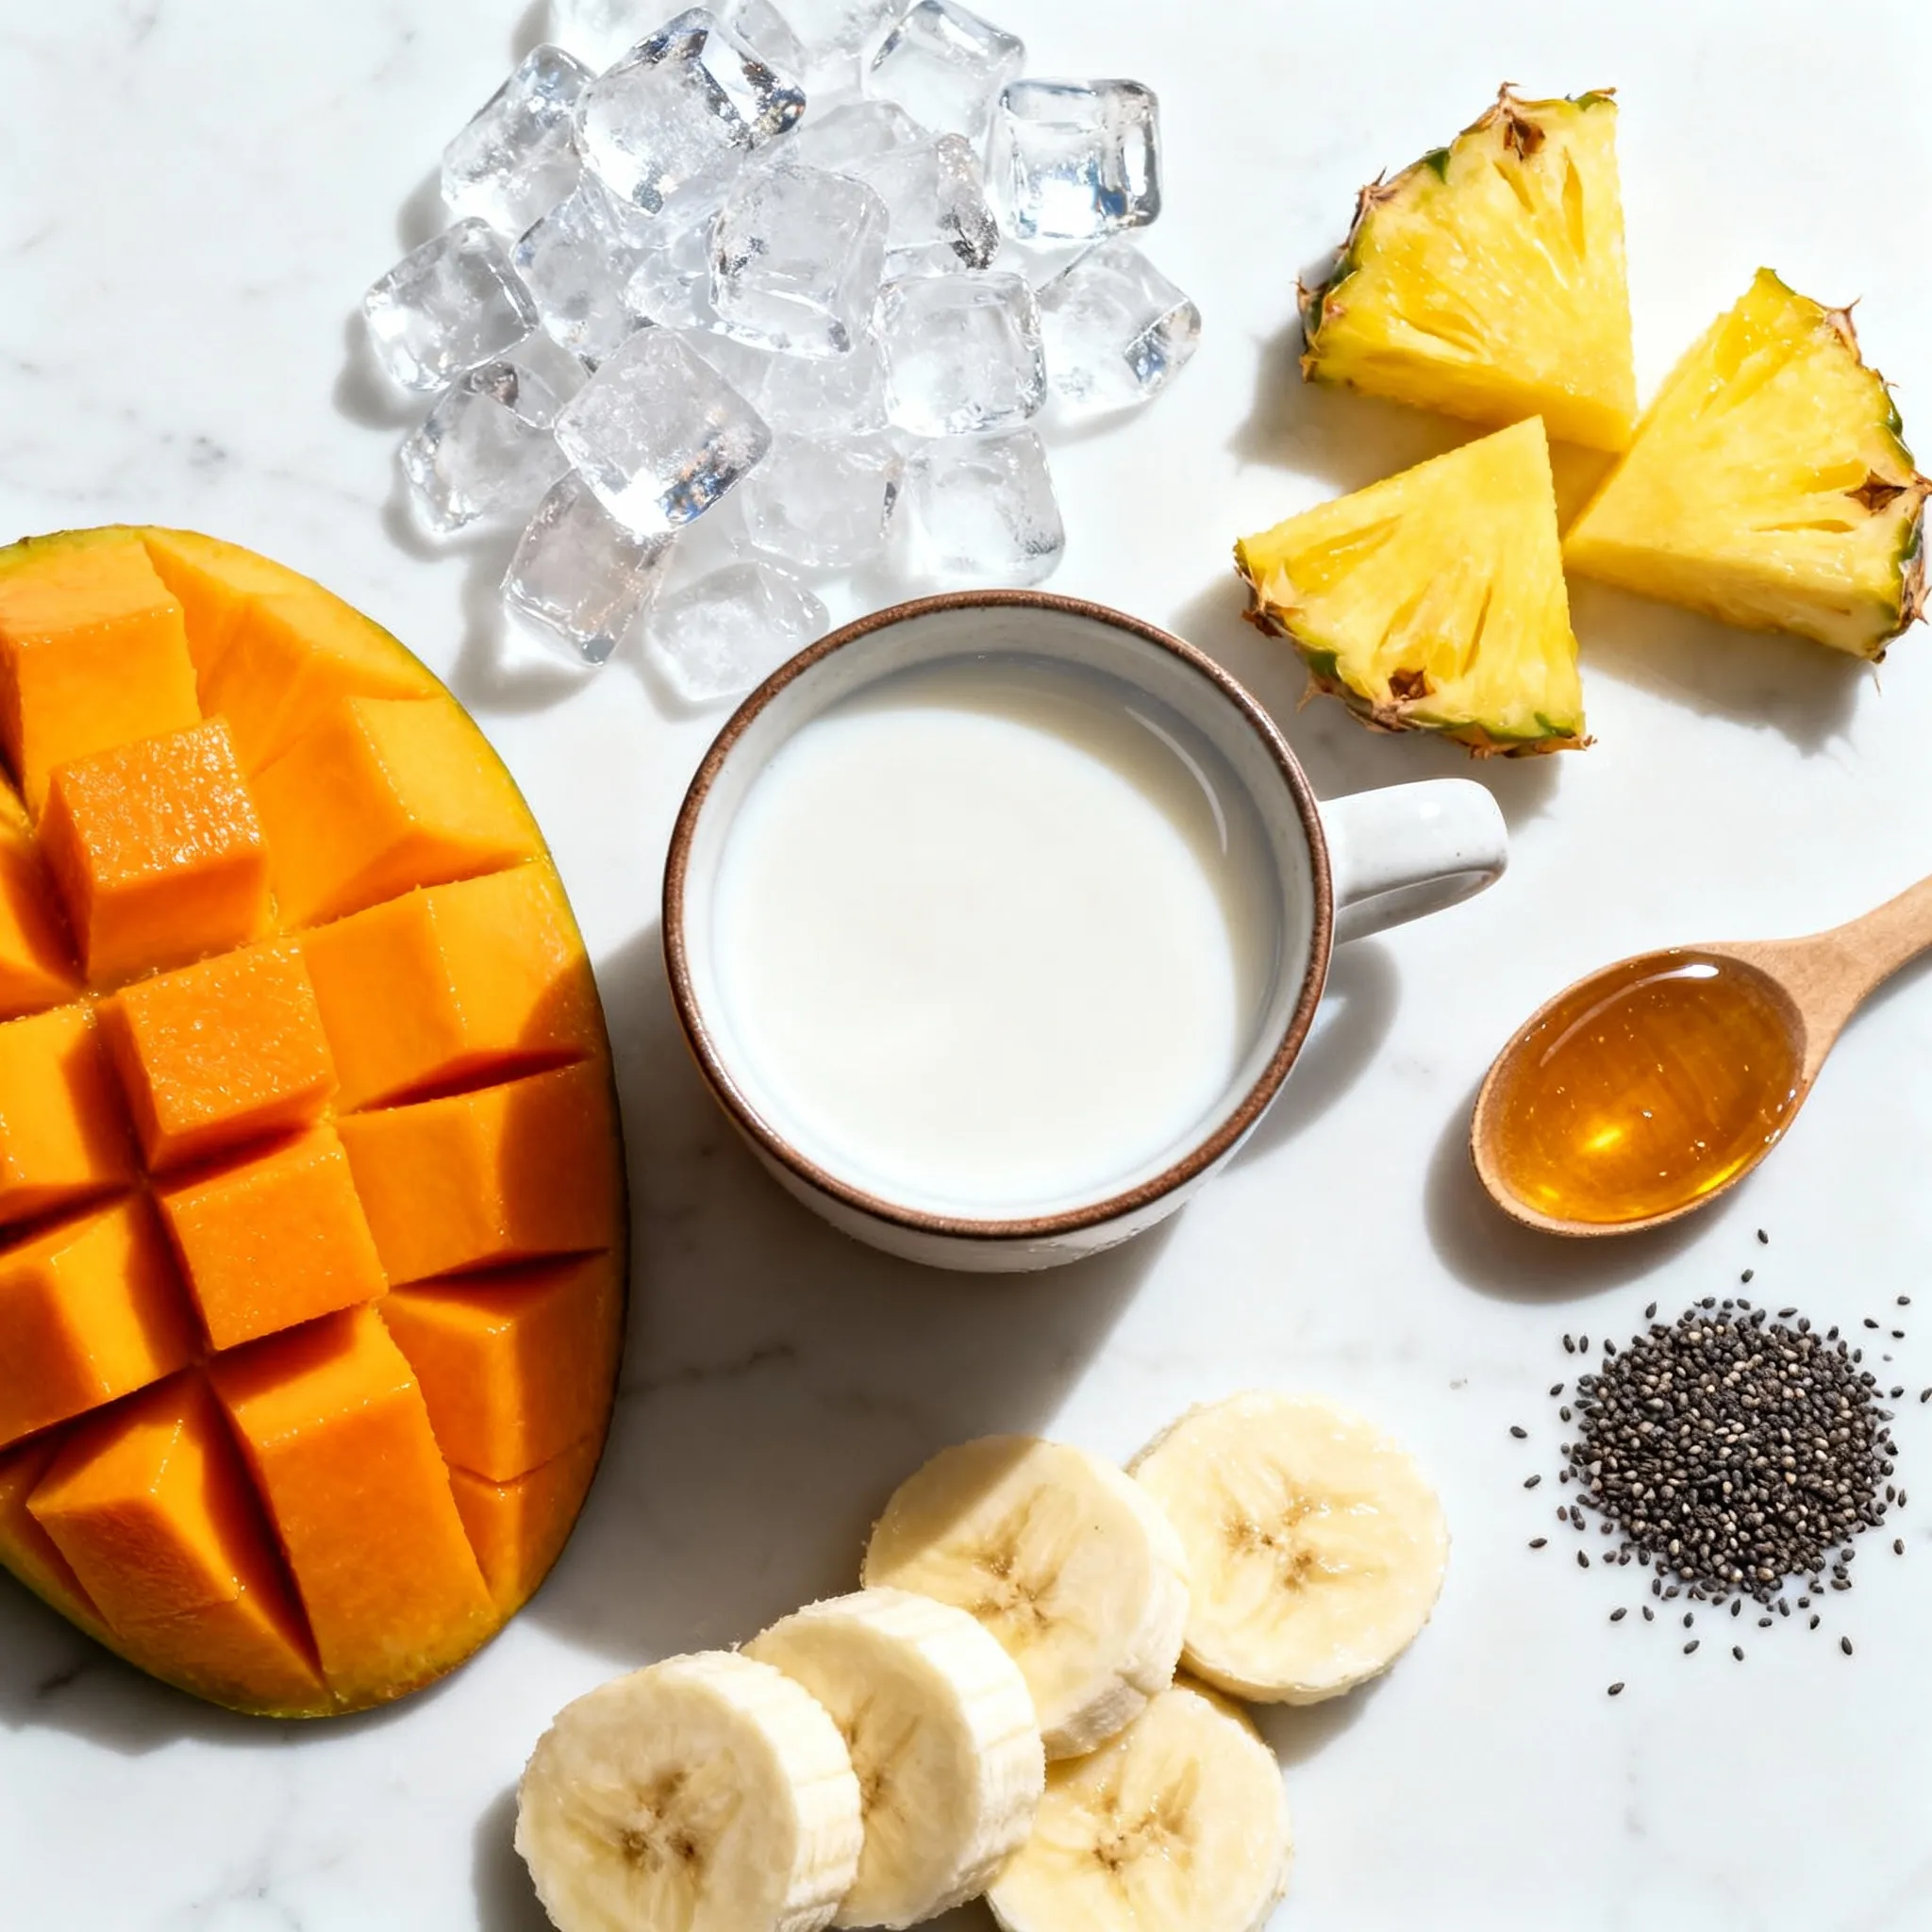
- 1 ripe mango, peeled and diced
- 1 cup fresh pineapple chunks
- 1 banana, sliced
- 1 cup coconut milk (or any milk of your choice)
- 1 tablespoon honey or maple syrup (optional)
- 1 tablespoon chia seeds (optional)
- 1 cup ice cubes
To make a tasty Mango Pineapple Smoothie, you need fresh fruit. Each fruit adds a special flavor. Start with a ripe mango. It should feel soft when you press it gently. Diced mango gives sweetness. Fresh pineapple chunks add a tangy kick. Always choose ripe pineapple for the best taste.
Next, add a banana. Bananas provide creaminess and natural sweetness. You can use any milk you like. Coconut milk adds a tropical vibe. If you want it sweeter, add honey or maple syrup.
For extra nutrition, toss in chia seeds. They have a good crunch and healthy fats. Finally, ice cubes make your smoothie cold and refreshing.
Optional Garnishes
- Fresh pineapple slice
- Sprig of mint
- Toasted coconut flakes
- Mixed berries
Garnishes can make your drink look and taste even better. A fresh pineapple slice on the rim looks pretty. A sprig of mint adds a pop of green. You can sprinkle toasted coconut flakes on top for crunch. Mixed berries are also great for color and flavor. These little touches make your smoothie feel special.
Step-by-Step Instructions
Preparing the Ingredients
How to dice a mango
To dice a ripe mango, first peel it. Use a sharp knife to cut the mango around the pit. Slice the fruit into long strips. Then, make crosswise cuts to create cubes. Finally, scoop out the cubes with a spoon.
Chopping pineapple and banana
For the pineapple, cut off the top and bottom. Stand it upright and slice the skin off. Cut the fruit into chunks. For the banana, simply peel it and slice it into small pieces. Both fruits will add great flavor to your smoothie.
Blending the Smoothie
Order of ingredients in the blender
Start by placing the diced mango in the blender. Next, add the pineapple chunks and banana slices. Pour in the coconut milk for creaminess. If you want a sweeter taste, add honey or maple syrup now. Don't forget to sprinkle in the chia seeds for nutrition. Finish with the ice cubes for a refreshing chill.
Optimal blending time for a smooth consistency
Blend on high for about 30 seconds. Stop and check the mixture. If you see any chunks, blend for another 10 seconds. You want a smooth and creamy texture. Once done, taste it. Add more sweetness if you like before serving.
Presentation Tips
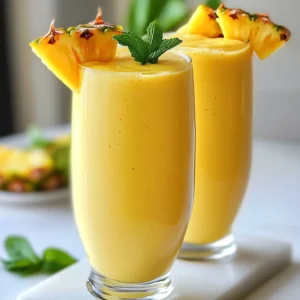
Serving in chilled glasses
Pour the smoothie into tall, chilled glasses. This keeps it cold and refreshing. It looks great, too!
Garnishing ideas for visual appeal
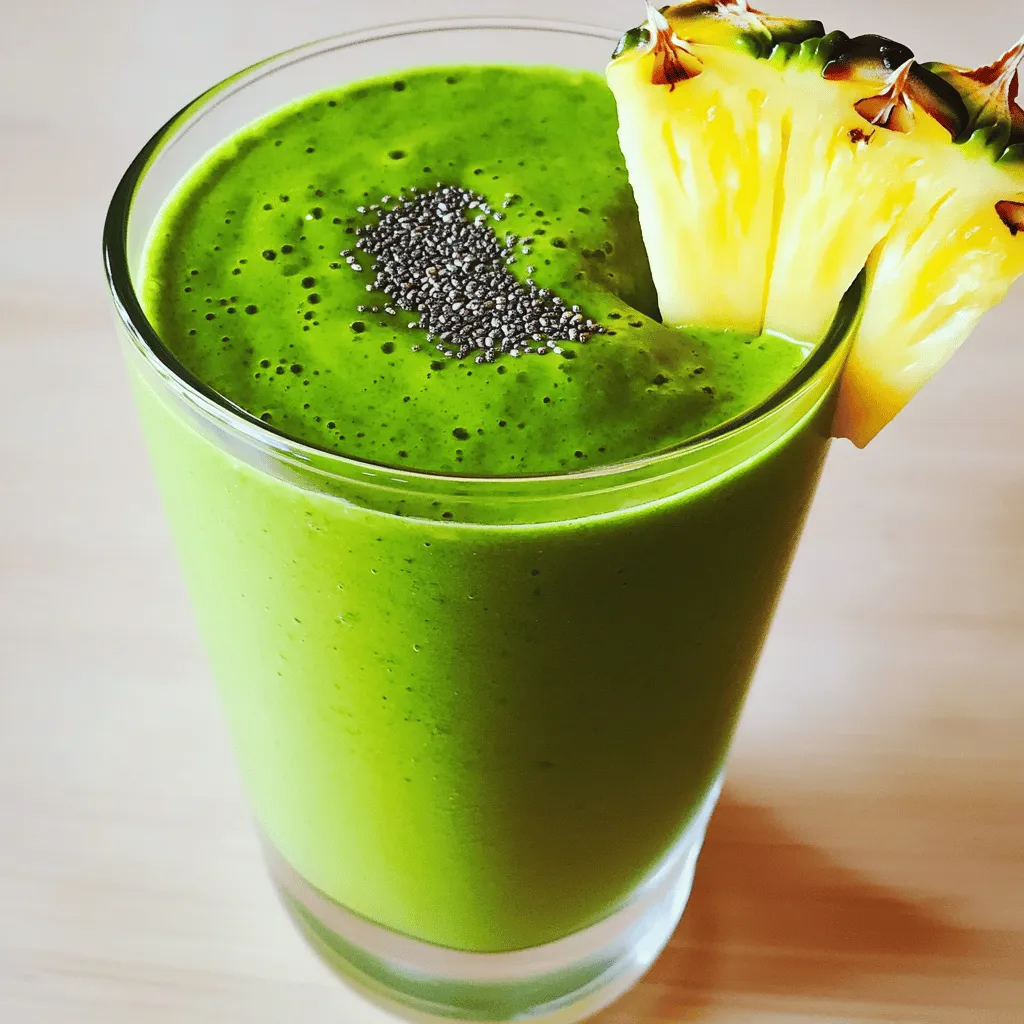
To make your smoothie pop, add a slice of fresh pineapple on the rim. You can also use a sprig of mint for a touch of green. For an extra fun look, sprinkle some toasted coconut on top. It enhances both the taste and the beauty of your drink.
Tips & Tricks
Sweetening and Flavoring Tips
To make your Mango Pineapple Smoothie sweet, adjust the honey or maple syrup. If you want less sugar, use ripe fruits instead. They add natural sweetness. You can also try agave syrup or stevia as alternatives. These options work well and keep it healthy.
Achieving the Perfect Consistency
Do you like a thicker smoothie? Add more fruit or less milk. For a thinner smoothie, add more milk or ice. Ice gives it a refreshing chill. Start with one cup and add more if needed. Blend until smooth, ensuring no chunks remain.
Nutritional Boost Ideas
Adding superfoods can enhance your smoothie. Try adding spinach for vitamins or protein powder for extra fuel. Chia seeds are great too! They add fiber and omega-3s. Just one tablespoon packs a punch. Mixing these in helps boost your health and keeps you full longer.
Pro Tips
- Choose Ripe Fruits: Ensure your mango and pineapple are ripe for the best flavor and sweetness. A ripe mango should yield slightly to pressure and have a sweet aroma.
- Chill Your Ingredients: For an extra frosty smoothie, chill your fruits and coconut milk beforehand. This will enhance the refreshing quality of your drink.
- Blend in Stages: If your blender isn’t powerful, blend the fruits first, then add the liquids and ice. This helps achieve a smoother consistency.
- Experiment with Add-ins: Feel free to customize your smoothie by adding spinach for greens, protein powder for a boost, or even a splash of lime juice for a zesty kick.

Variations
Tropical Fruit Variations
You can change up your mango pineapple smoothie with other fruits. Try adding passion fruit for a tangy twist. You can also mix in some papaya for a sweet touch. Using different types of milk can also change the flavor. Almond milk brings a nutty taste, while oat milk adds creaminess. Coconut milk is great for a tropical vibe.
Vegan & Dairy-Free Options
If you want to keep it vegan, use plant-based milk. Almond milk or soy milk works well. You can also try oat milk for a smooth texture. If you want sweetness without honey, use maple syrup or agave. These options keep your smoothie tasty and healthy.
Green Smoothie Add-ins
You can easily make a green version of this smoothie. Just add a handful of spinach or kale. This boosts the nutrients without changing the flavor much. Greens add vitamins and minerals that are great for your health. They also help you feel full longer.
Storage Info
Refrigerator Storage
You can keep your mango pineapple smoothie in the fridge for up to two days. After blending, pour it into an airtight container. This helps keep it fresh. If you notice separation, just give it a good shake before drinking. To enjoy later, store any extra smoothie in smaller jars. This makes it easy to grab a quick snack.
Freezing Options
Freezing your smoothie is a great way to save it for later. Pour the smoothie into ice cube trays or silicone molds. Once frozen, pop out the cubes and store them in a freezer bag. When you want to enjoy it again, just blend the frozen cubes with a bit of coconut milk. This will give you a creamy, icy treat. If it's too thick, add more milk to get your desired consistency.
FAQs
How many servings does this smoothie recipe make?
This smoothie recipe makes two servings. Each serving is perfect for a refreshing drink. You can share with a friend or enjoy both yourself!
Can I use frozen fruit instead of fresh?
Yes, you can use frozen fruit! Frozen mango and pineapple are great options. They add a thick, creamy texture. You may need to add a bit more liquid since frozen fruit can be drier. Just blend it well until smooth.
What are the health benefits of a mango pineapple smoothie?
A mango pineapple smoothie is packed with nutrients. Mangos are rich in vitamins A and C. They support your immune system and skin health. Pineapples contain bromelain, which helps with digestion. Bananas add potassium, which is good for your heart. Coconut milk provides healthy fats, making this smoothie a nutritious choice.
Can I make this smoothie ahead of time?
You can prepare the ingredients in advance. Chop the mango, pineapple, and banana and store them in the fridge. Blend the smoothie when you are ready to drink. If you want to keep it fresh, store it in an airtight container in the fridge for up to one day.
Enjoying a mango pineapple smoothie is simple and fun. You learned about essential ingredients and how to blend them. I shared tips for sweetening, thickening, and adding nutrition. Explore variations to suit your taste, and store leftovers wisely.
This smoothie is a tasty way to boost your health. Try it out and refresh your routin
Mango Pineapple Paradise Smoothie
Ingredients
- 1 whole ripe mango, peeled and diced
- 1 cup fresh pineapple chunks
- 1 whole banana, sliced
- 1 cup coconut milk (or any milk of your choice)
- 1 tablespoon honey or maple syrup (optional, for sweetness)
- 1 tablespoon chia seeds (optional, for a nutritional boost)
- 1 cup ice cubes (for a chilled and refreshing smoothie)
Instructions
- Begin by placing the diced mango, fresh pineapple chunks, and sliced banana into a high-powered blender.
- Next, pour in the coconut milk, which will create a creamy base for your smoothie. If you prefer a sweeter flavor, incorporate the honey or maple syrup at this stage.
- To enhance the nutritional value and add a slight crunch, sprinkle in the chia seeds.
- Add the ice cubes to the blender; this will ensure your smoothie is icy and invigorating.
- Blend on high until the mixture reaches a smooth and creamy consistency, ensuring there are no fruit chunks remaining.
- Taste the smoothie and adjust the sweetness if preferred, by adding more honey or maple syrup to achieve your desired flavor.
- Once satisfied with the taste, pour the smoothie into glasses, and for an extra touch, garnish with a slice of fresh pineapple on the rim or a sprig of mint for a vibrant pop.


Leave a Reply