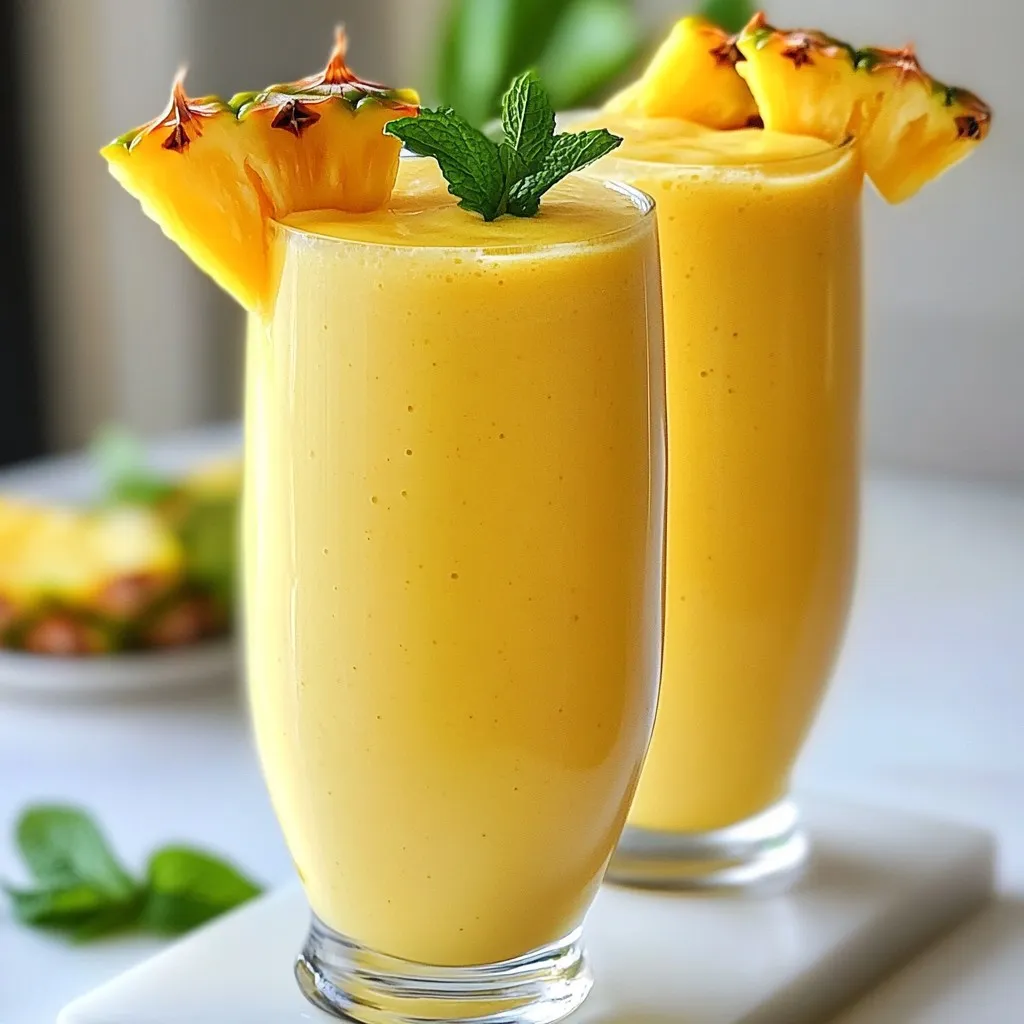
Mango Pineapple Smoothie Refreshing and Nutritious Drink
A refreshing and tropical smoothie made with mango, pineapple, and banana, blended with coconut milk...
Delicious recipes
Beverages and drink recipes
A refreshing and tropical smoothie made with mango, pineapple, and banana, blended with coconut milk...
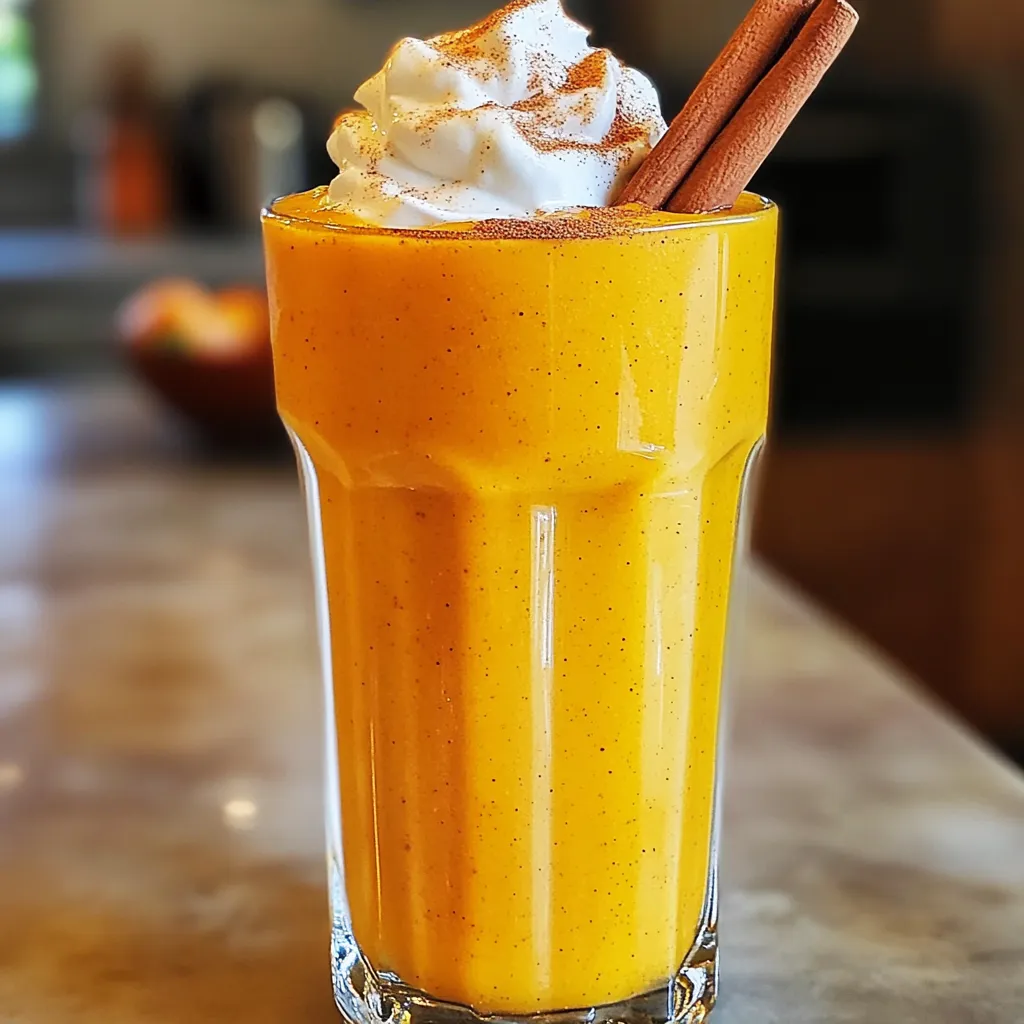
A creamy and delicious smoothie that captures the flavors of pumpkin pie.

A refreshing cold brew coffee infused with pumpkin puree and spices, perfect for autumn.

A creamy and indulgent white hot chocolate infused with pumpkin spice flavors, perfect for fall.
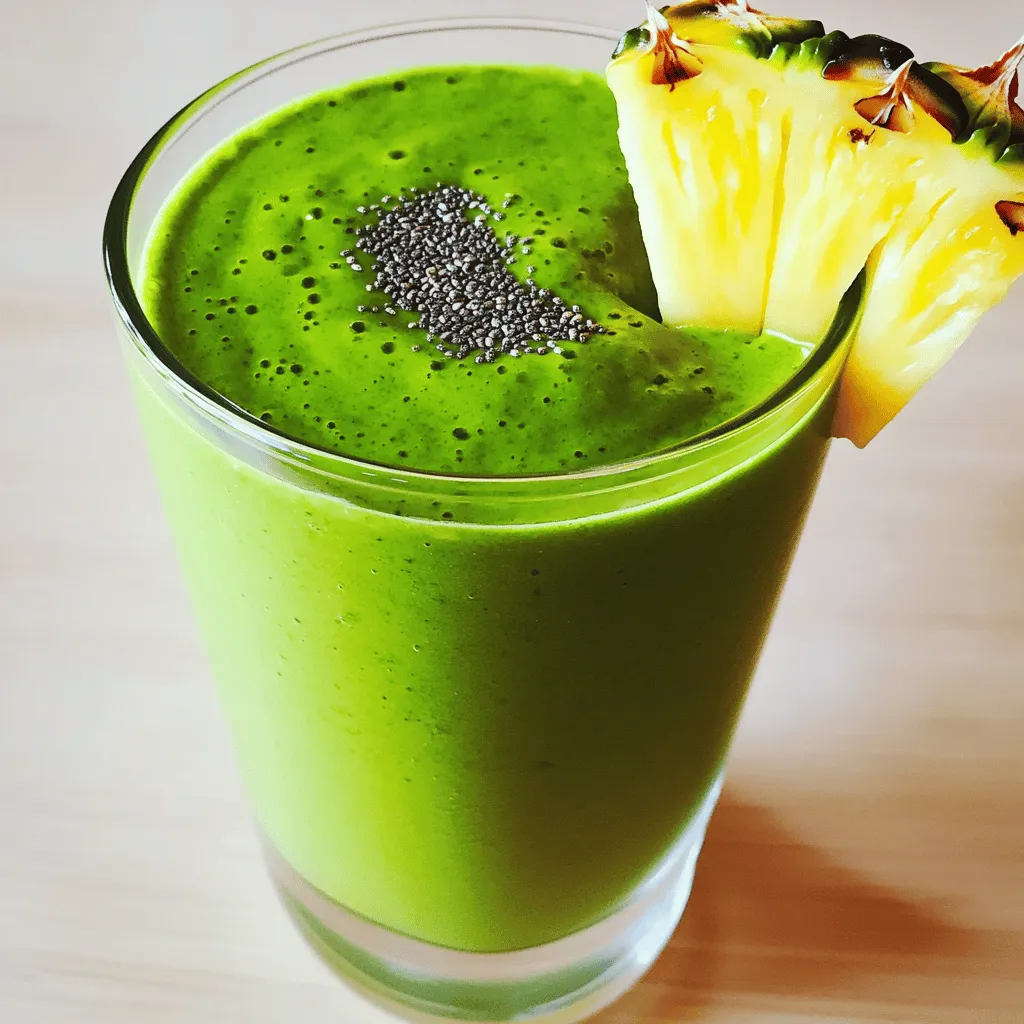
A refreshing and nutritious smoothie packed with tropical flavors and greens.
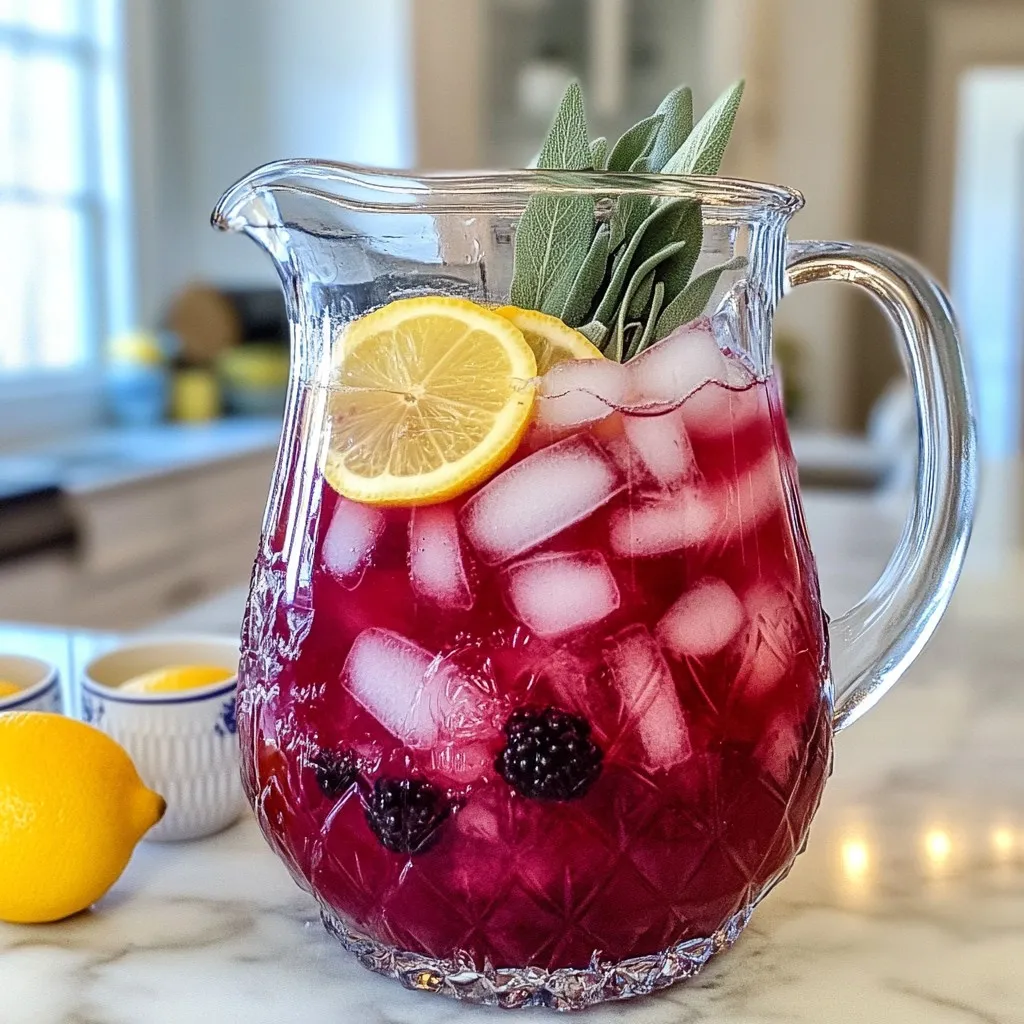
A refreshing lemonade infused with blackberries and sage, perfect for hot days.
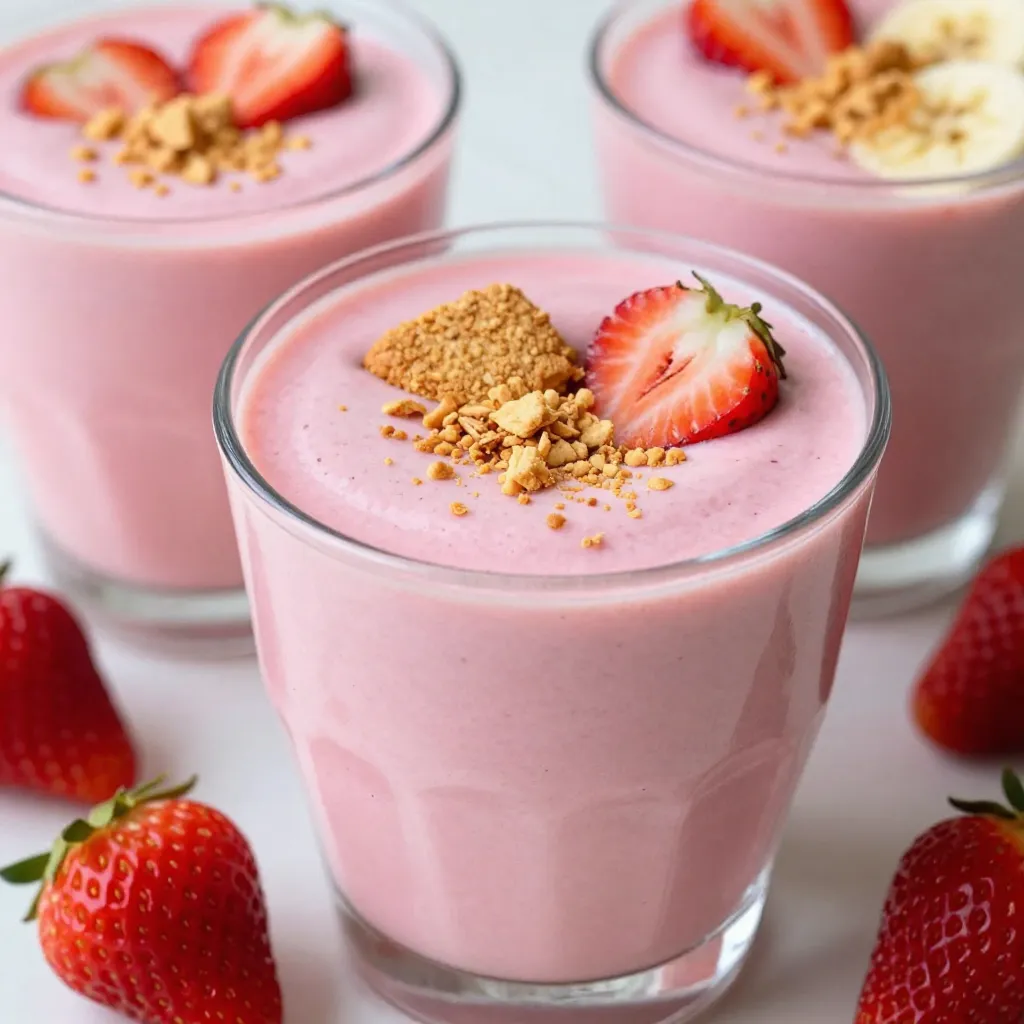
A creamy and delicious smoothie that combines the flavors of strawberry cheesecake in a refreshing d...
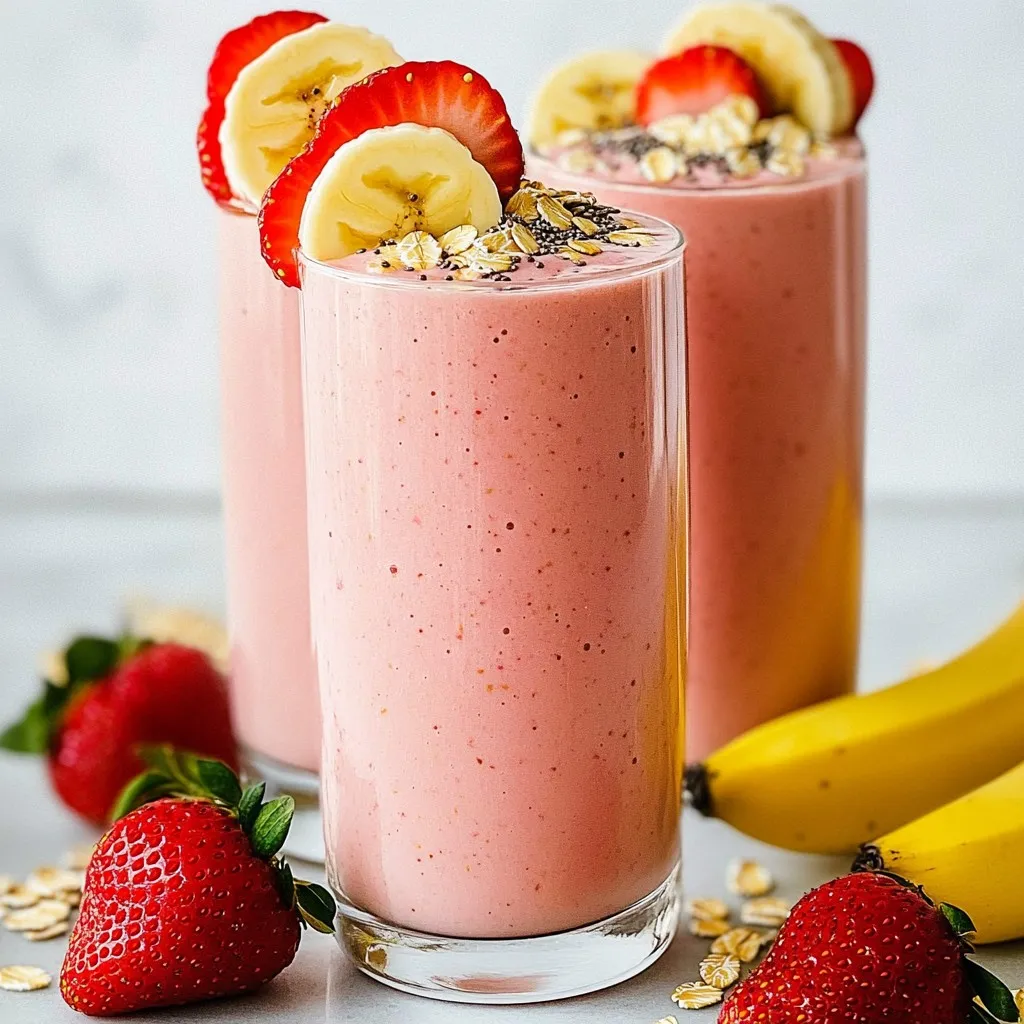
A refreshing and nutritious smoothie made with strawberries, banana, oats, and almond milk.