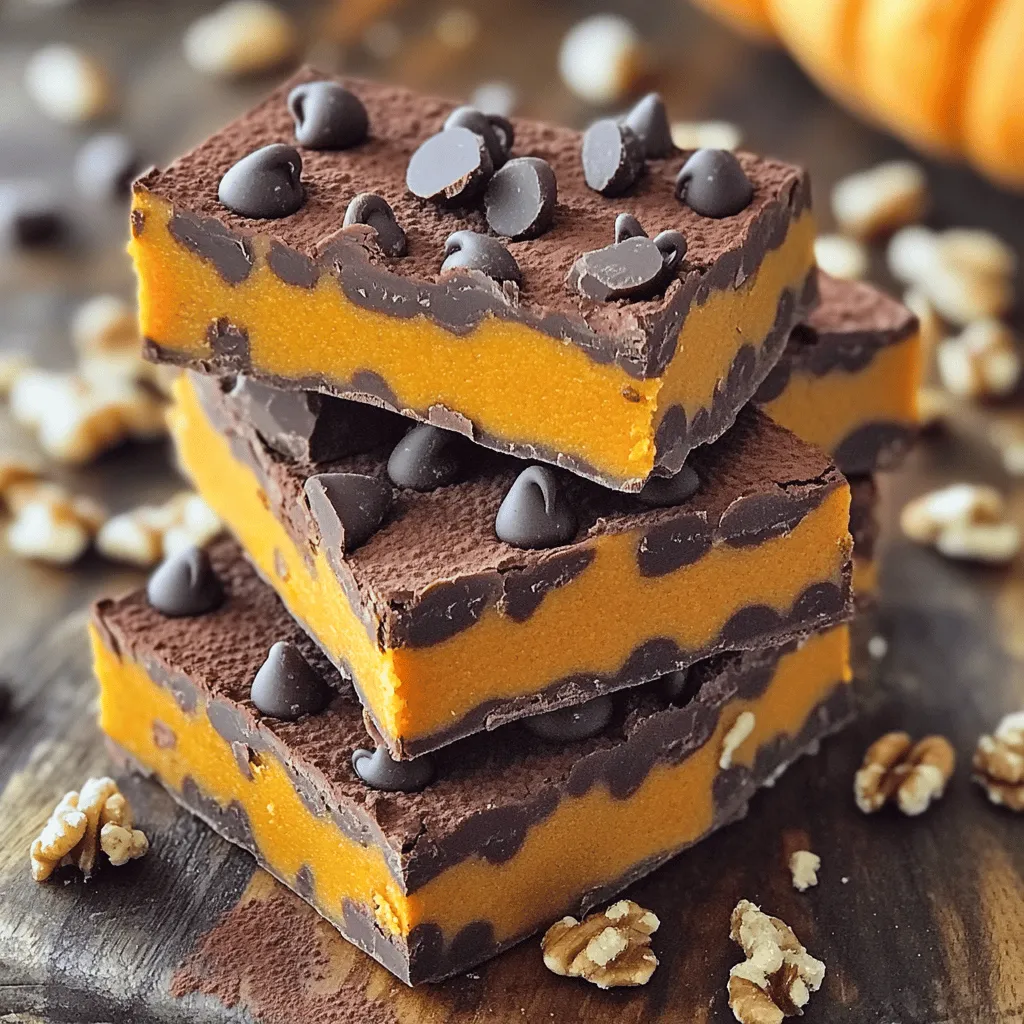
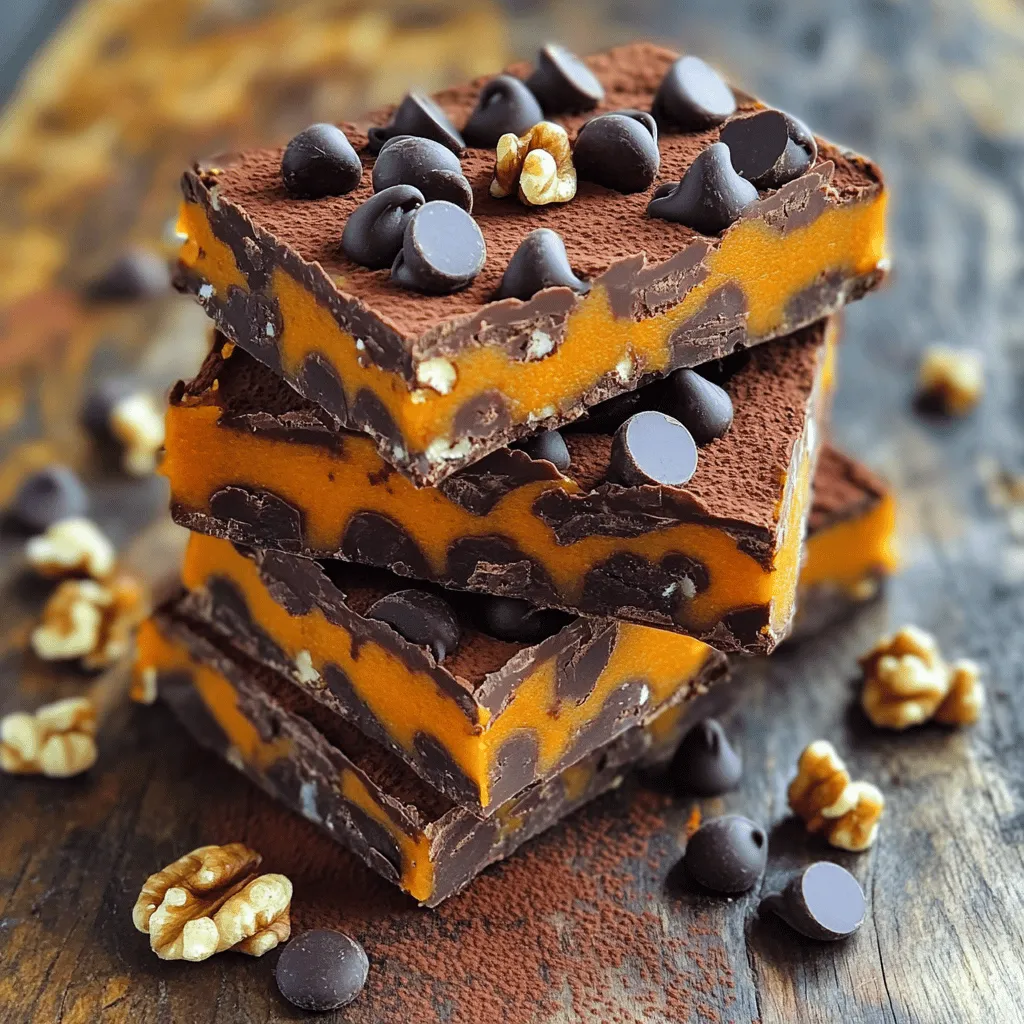
Looking for a healthy treat that’s easy to make? You're in the right place! My No-Bake Chocolate Pumpkin Energy Bars are a tasty way to fuel your day. This simple recipe uses wholesome ingredients that pack a punch of flavor and nutrition. Whether you crave a snack or a boost before work, these bars hit the spot. Let’s dive into how to make these delicious goodies!
Ingredients
List of Ingredients
- 1 cup rolled oats
- ½ cup pumpkin puree
- ⅓ cup almond butter (or any nut butter)
- ¼ cup honey or maple syrup (maple syrup makes it vegan)
- ¼ cup unsweetened cocoa powder
- ½ teaspoon pure vanilla extract
- ½ teaspoon ground cinnamon
- ¼ teaspoon sea salt
- ½ cup dark chocolate chips (use dairy-free for vegan)
- ¼ cup chopped nuts (like walnuts or pecans, optional)
For anyone with allergies, here are some substitutes:
- Instead of almond butter, use sunflower seed butter for nut-free.
- Maple syrup can replace honey for a vegan option.
- If you need gluten-free, make sure to use certified gluten-free oats.
- Swap dark chocolate chips for carob chips if avoiding chocolate.
Step-by-Step Instructions
Preparation Steps
To start, grab a medium-sized bowl. In this bowl, combine the rolled oats, cocoa powder, ground cinnamon, and sea salt. Mix these dry ingredients well. This helps to distribute the flavors. Use a spoon or whisk to stir them together. Make sure there are no clumps.
Next, take another bowl for your wet ingredients. Whisk together the pumpkin puree, almond butter, honey or maple syrup, and vanilla extract. Keep whisking until the mixture is smooth and creamy. This step is key for a great texture.
Now, pour the wet mixture into the bowl with the dry ingredients. Use a spatula or your hands to mix everything together. Make sure all the oats get coated well. This ensures every bite is full of flavor.
Once mixed, add in the dark chocolate chips and chopped nuts, if you choose to use them. Gently fold these in to make sure they are evenly spread throughout the mix.
Chilling and Cutting
Line an 8x8-inch baking dish with parchment paper. Leave some paper hanging over the edges. This makes it easy to lift the bars out later.
Then, transfer your mixture into the lined dish. Press it down firmly with your hands or the back of a spatula. Aim for an even and compact surface. This helps the bars hold their shape.
Put the dish in the refrigerator. Chill it for at least 2 hours. This time allows the bars to firm up nicely.
After chilling, carefully lift the mixture out using the parchment paper. Place it on a cutting board. Now, slice it into bars of your desired size. You can make them small for snacks or larger for a filling treat.
Tips & Tricks
Perfecting the Recipe
To make your bars firmer, add more oats. You can also chill them longer. If you want softer bars, try adding extra pumpkin puree. This will give them a moist texture. For even mixing, always combine dry and wet ingredients in separate bowls first. Stir the dry mix well to break up clumps. When you add the wet mix, fold gently. This keeps everything mixed without crushing the oats.
Serving Suggestions
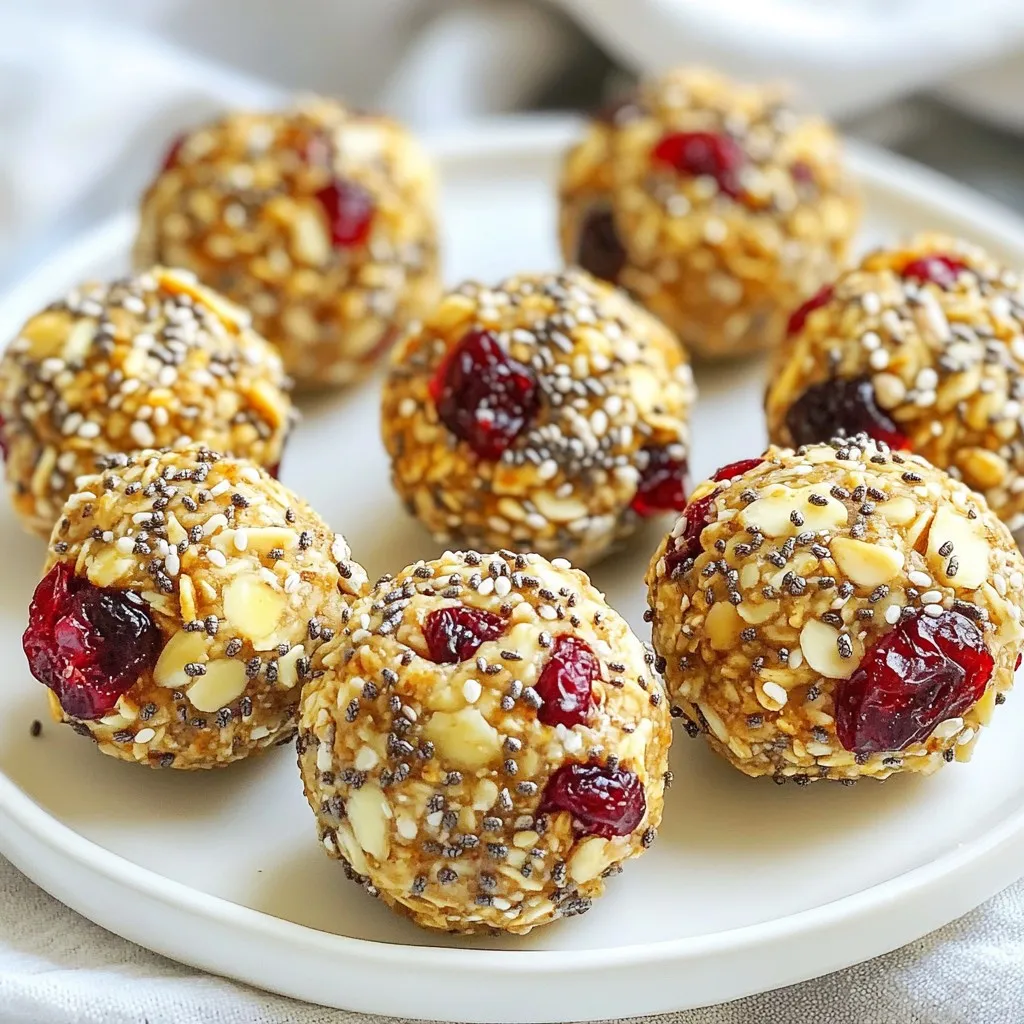
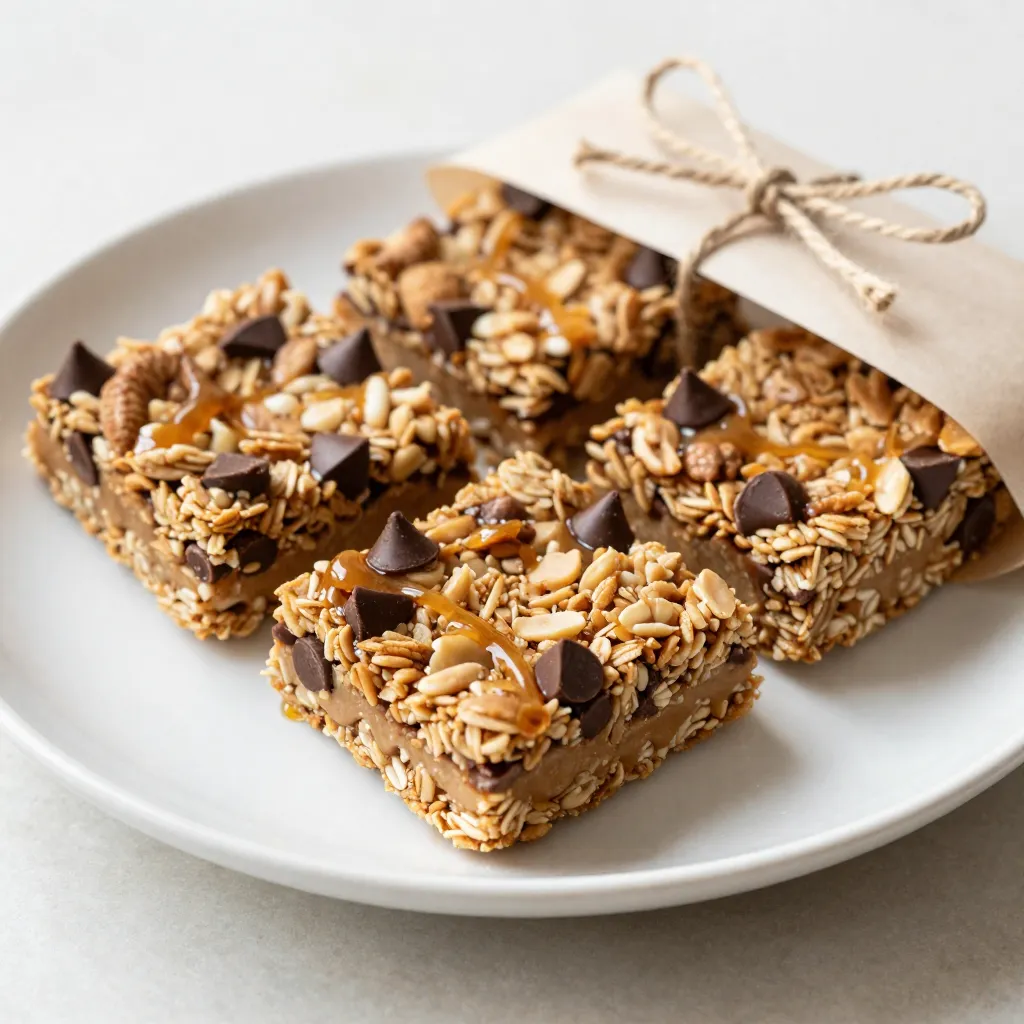
For a pretty display, stack the bars neatly on a wooden platter. You can also wrap each bar in parchment. Tie them with twine for a cute grab-and-go look. Pair these energy bars with a glass of almond milk or a hot cup of tea. You can also serve them with fresh fruit or yogurt for a tasty snack.
Variations
Flavor Variations
You can change the flavors of these energy bars easily. Try adding peanut butter instead of almond butter. It gives a nice taste. You can also mix in spices like nutmeg or ginger for a warm kick. If you want a vegan twist, use maple syrup instead of honey. This keeps the bars sweet and plant-based. You can even use coconut flakes for a tropical vibe.
Ingredient Swaps
Feel free to swap nut butters to fit your taste. Use cashew butter or sunflower seed butter if you prefer. Both options work well and keep the bars creamy. For sweeteners, maple syrup is a great vegan choice. You can also try agave nectar, which is sweeter than honey. This gives you some flexibility in making these bars just right for you.
Storage Info
Best Practices for Storage
To keep your no-bake chocolate pumpkin energy bars fresh, store them in an airtight container. I recommend using a glass or plastic container with a tight lid. You can also wrap each bar in parchment paper. This method keeps them from drying out and makes them easy to grab.
- Airtight container: Prevents moisture and keeps bars fresh.
- Parchment paper: Wraps each bar to keep them moist.
Freezing Instructions
If you want to save some bars for later, freezing is a great option. To freeze, place the bars in a single layer on a baking sheet. Once they are fully frozen, transfer them to an airtight container or a freezer bag. This method helps prevent them from sticking together.
- Freeze on a baking sheet: Keeps bars separate until frozen.
- Transfer to a container: Use an airtight container for long-term storage.
When you want to enjoy a bar, take it out of the freezer. Let it thaw in the fridge for a few hours. This way, you will keep the best texture without making it too soft or mushy.
FAQs
How can I make these bars vegan?
To make these bars vegan, simply swap the honey for maple syrup. This keeps the sweetness while ensuring no animal products are in the recipe. Use dairy-free chocolate chips for added flavor without any dairy. This way, you enjoy a tasty treat that fits a vegan diet.
Can I use quick oats instead of rolled oats?
Yes, you can use quick oats instead of rolled oats. Quick oats will blend easier and create a softer texture. However, rolled oats give more chewiness. If you like a heartier bar, I recommend sticking with rolled oats.
How long do these energy bars last?
These energy bars last about one week in the fridge. Keep them in an airtight container to maintain freshness. If you want them to last longer, you can freeze them. Just make sure to wrap them well before freezing.
Can I add protein powder to the recipe?
You can indeed add protein powder to the recipe. Start with one scoop and mix it in with the dry ingredients. This adds a protein boost, making your bars even more nutritious. Adjust the wet ingredients slightly if the mixture feels too dry.
This blog post covered everything you need to know about making energy bars at home. You learned about the ingredients, step-by-step instructions, and tips for success. Variations help you customize flavors and adapt to different diets. Good storage ensures your bars stay fresh for longer. With the FAQs, you have answers to your most pressing questions.
Embrace these recipes and tips to create tasty, healthy snacks. Your energy bars can be both delicious and nutritious with a little effort!