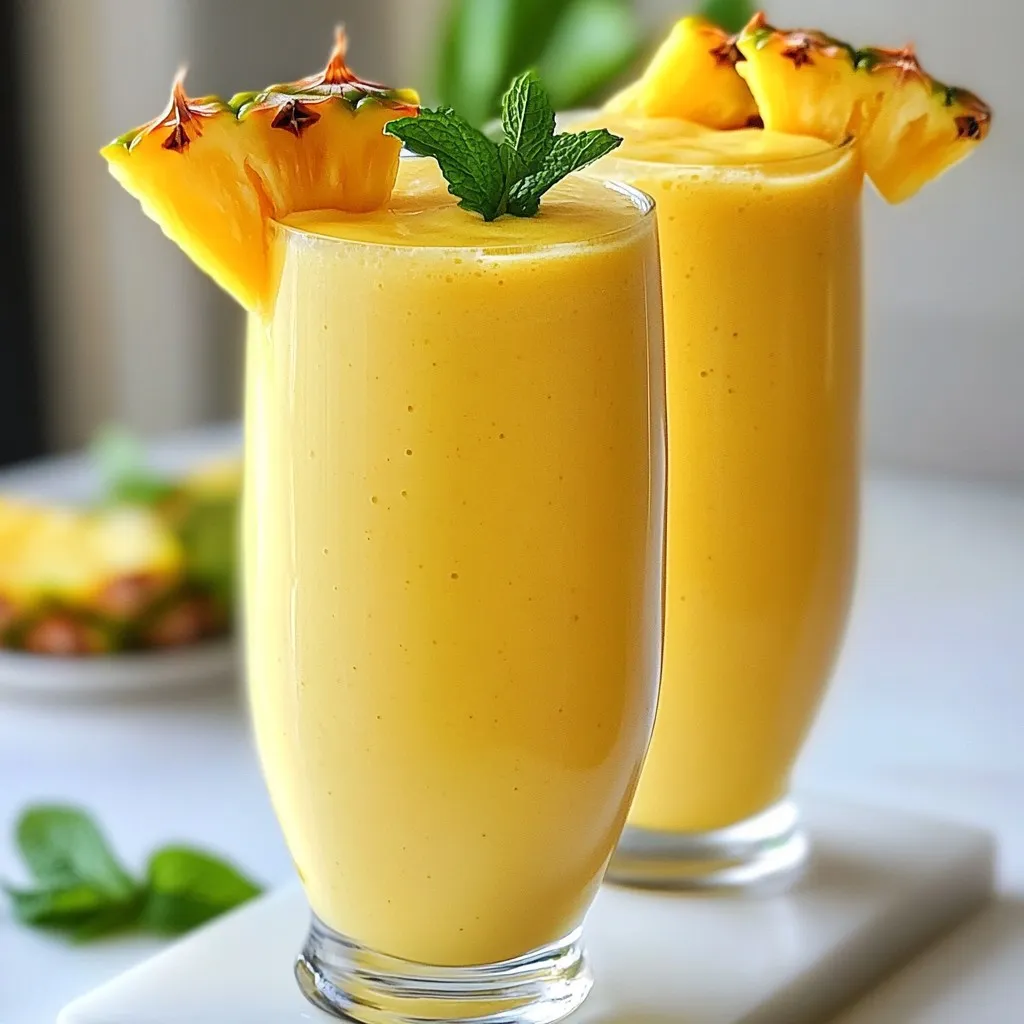
Warm spices and creamy pumpkin combine in a delicious Pumpkin Pie Smoothie! This nutritious drink captures the cozy vibe of fall while being a breeze to make. You’ll enjoy its rich flavor without any fuss. Whether you're looking for a quick breakfast or a tasty snack, this smoothie checks all the boxes. Let’s dive into the ingredients, steps, and tips to make your perfect blend!
Ingredients
Detailed list of ingredients
To make a tasty pumpkin pie smoothie, you need these ingredients:
- 1 cup pumpkin puree (canned or fresh)
- 1 banana (frozen is best)
- 1 cup almond milk (or any milk you like)
- ½ teaspoon pure vanilla extract
- 1 teaspoon pumpkin pie spice
- 1 tablespoon maple syrup (sweeten to taste)
- ¼ cup Greek yogurt (for creaminess, optional)
- Ice cubes (for thickness, optional)
Measurements and alternatives
You can adjust the measurements based on your taste. If you want it sweeter, add more maple syrup. For a thicker smoothie, use more ice or yogurt. You can swap almond milk with any milk, like oat or cow's milk. If you do not have pumpkin pie spice, mix cinnamon and nutmeg for a similar taste.
Optional ingredients for added richness
For an even richer flavor, consider adding:
- A scoop of nut butter, like almond or peanut
- A sprinkle of chia seeds for extra nutrients
- A dash of honey for natural sweetness
These additions can make your smoothie even more delicious and filling. Enjoy experimenting!
Step-by-Step Instructions
Preparation process flow
To make your pumpkin pie smoothie, start by gathering your ingredients. You will need pumpkin puree, a frozen banana, almond milk, vanilla extract, pumpkin pie spice, maple syrup, and Greek yogurt if you want extra creaminess. This setup helps you blend smoothly.
Next, pour the pumpkin puree into your blender. Add the frozen banana, almond milk, vanilla extract, pumpkin pie spice, and maple syrup. If you like a richer taste, toss in Greek yogurt.
Blending tips for the best consistency
When you blend, use a high setting. Blend until your mixture is smooth and creamy. If you want it thicker, add a few ice cubes. Blend again until you reach the texture you want.
Don't forget to taste your smoothie. If you want more sweetness, add more maple syrup. Blend briefly to mix it well.
Serving suggestions for optimal enjoyment
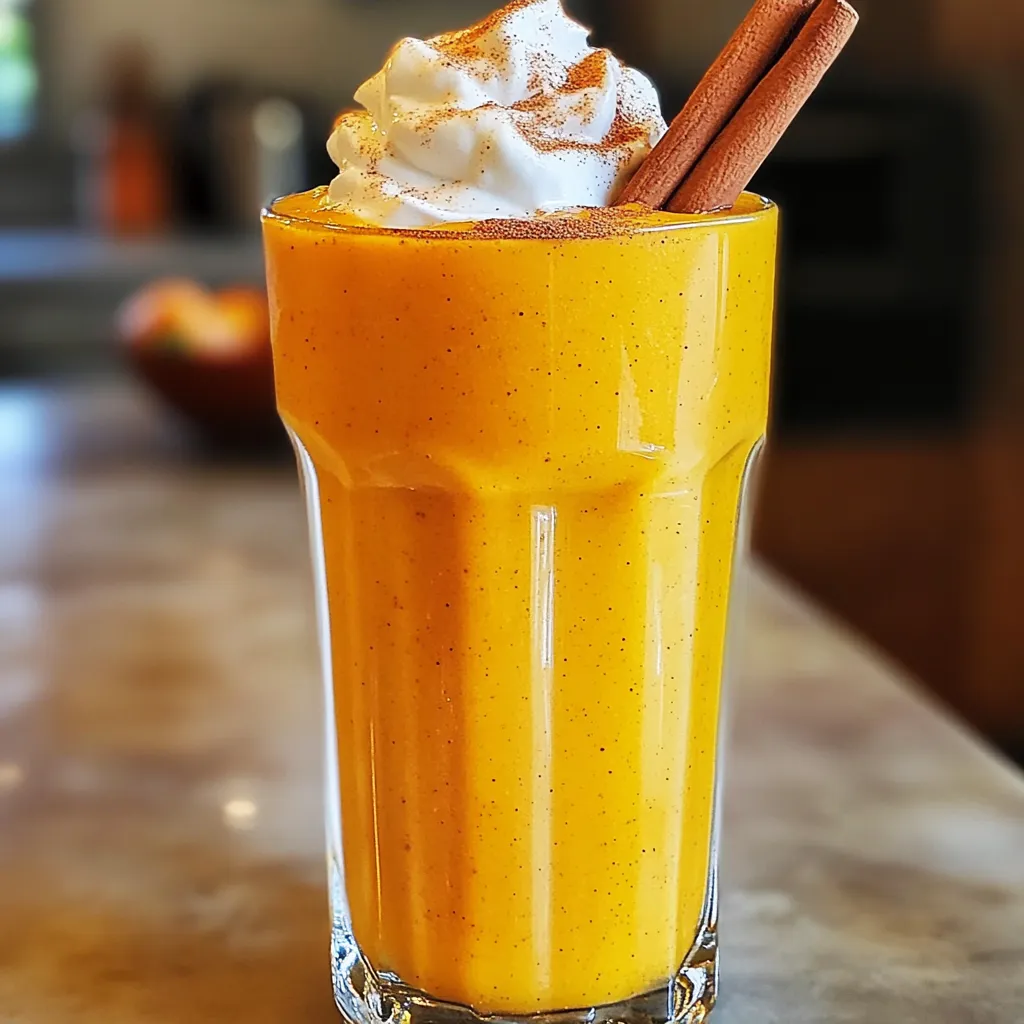
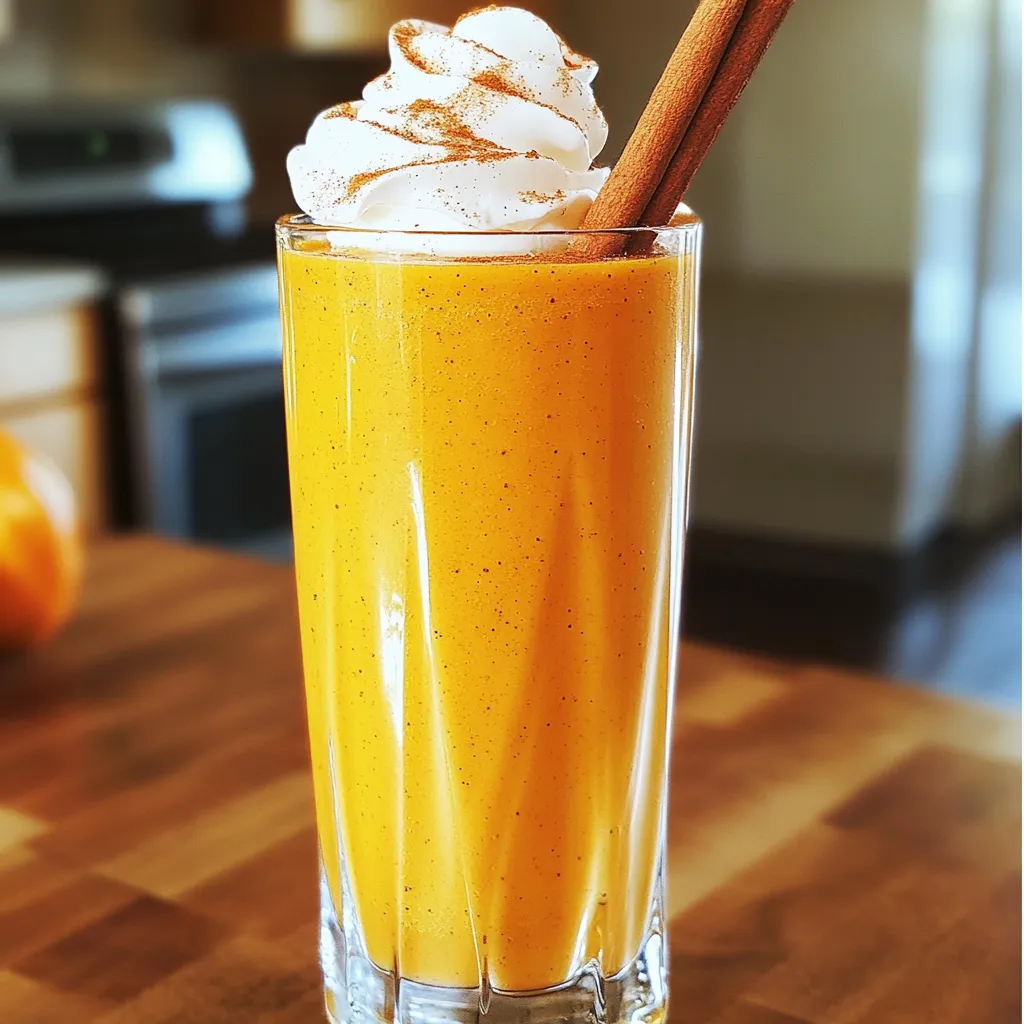
Pour your smoothie into a tall glass for a nice look. For the best experience, drink it right away. You can garnish with a sprinkle of cinnamon or a dollop of whipped cream. For fun, place a cinnamon stick in the glass. This adds a nice touch and a lovely scent. Enjoy your tasty treat!
Tips & Tricks
Common mistakes to avoid
One common mistake is using fresh pumpkin instead of pumpkin puree. Fresh pumpkin needs more cooking and blending. It can make your smoothie grainy. Another mistake is skipping the frozen banana. A frozen banana gives a creamier texture. If you use a fresh banana, your smoothie may be too thin.
How to customize sweetness levels
To adjust sweetness, start with one tablespoon of maple syrup. Blend it in, then taste. If it needs more sweetness, add more maple syrup, a little at a time. You can also use honey or agave syrup. These sweeteners can enhance the flavor, too.
Enhancing the creamy texture
To make your smoothie creamier, use Greek yogurt. It adds richness without overpowering the pumpkin flavor. If you want a vegan option, use coconut yogurt. You can also add more almond milk. Just be careful not to add too much, as it can thin out your smoothie. For an extra touch, try a splash of heavy cream if you're not worried about calories.
Variations
Dairy-free and vegan options
You can easily make this smoothie dairy-free and vegan. Just skip the Greek yogurt. Almond milk works great, but you can use coconut or oat milk too. These options keep your drink creamy and delicious. Adjust the maple syrup to suit your taste. This way, you enjoy the same great flavor without any dairy.
Seasonal variations with different spices
You can also switch up the spices in your smoothie. Instead of pumpkin pie spice, try adding nutmeg or ginger. These spices add a warm and cozy feel. You can mix cinnamon with allspice for a new twist. Each season brings different flavors. Get creative and find your favorite spice blend!
How to make it a meal replacement
To turn your smoothie into a meal replacement, add extra protein. You can include a scoop of protein powder or nut butter. This helps keep you full longer. You might also add oats for more fiber. A tablespoon of chia seeds can boost nutrition too. With these changes, your smoothie becomes a tasty and filling meal.
Storage Info
Best practices for storing leftovers
If you have leftover pumpkin pie smoothie, store it in the fridge. Use an airtight container to keep it fresh. It will stay good for up to two days. Before you drink it, give it a good shake or stir. This helps mix any settled ingredients.
Freezing options for future smoothies
You can freeze your pumpkin pie smoothie for later. Pour it into ice cube trays or a freezer-safe container. This way, you can make smoothie pops. When you want a quick drink, take out the cubes. Blend them with a little milk for a fresh treat. The frozen version can last up to three months.
Reheating or refreshing stored smoothie
To refresh a stored smoothie, add a splash of milk. This helps restore its creamy texture. If it feels too thick, blend it again. For a warm drink, heat it gently in a pot. Avoid boiling it. Warm it to your liking and enjoy a cozy version of your pumpkin pie smoothie!
FAQs
What can I substitute for almond milk?
You can use any milk you like. Soy milk, oat milk, or coconut milk work great. Each option brings a unique flavor. If you want to skip milk, use water or juice. This smoothie will still taste good and be smooth.
How long does the pumpkin pie smoothie last?
The pumpkin pie smoothie stays fresh for about one day in the fridge. Store it in a sealed jar. If it separates, just shake it before drinking. However, I recommend drinking it right away for the best taste and texture. Smoothies are best when they are fresh!
Can I add protein powder to this recipe?
Yes, you can add protein powder easily! It makes the smoothie more filling. Choose a flavor that you like. Vanilla or unflavored protein works best here. Just add one scoop to your mix before blending, and enjoy a nutritious boost!
This post covered key elements of making a great smoothie. We explored ingredients, measurements, and options for richness. I shared step-by-step methods, blending tips, and serving ideas to enhance enjoyment. You learned how to avoid mistakes and customize sweetness. We even dove into dairy-free options and variations like using seasonal spices. Finally, I shared best practices for storing leftovers and answered common questions. Enjoy crafting your perfect smoothie! You now have the tools to make it truly special.