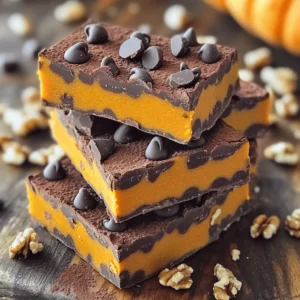
No-Bake Chocolate Pumpkin Energy Bars
Craving a delicious and healthy snack? Try these No-Bake Chocolate Pumpkin Energy Bars that are perfect for a quick boost! Made with wholesome ingredients like oats, pumpkin puree, and almond butter, these bars are both nutritious and satisfying. Easy to prepare and perfect for on-the-go, you’ll love their rich chocolate flavor. Click to discover the full recipe and indulge in a sweet treat that's guilt-free!